Set up Penpot MCP with Cursor in 5 steps and no code
The fastest and simplest way to get started with Penpot and AI workflows from scratch. Learn how to get started with Penpot and Cursor, a code editor with an integrated AI client.

Are you looking to use AI workflows as part of your team’s design and development process, but have no idea where to begin? Look no further!
You can use Penpot’s MCP (Model Context Protocol) as a bridge between AI clients and your Penpot files. The AI client connects to AI models (large language models, or LLMs) such as Claude, Gemini and GPT. The combination of Penpot MCP, an AI client, and AI models, enables you to generate designs and code from your Penpot files, or even create new Penpot designs from code and prompts.
Penpot MCP will work with any AI model and client, but in this guide I’ll show you how to get started with Penpot and Cursor, a code editor with an integrated AI client.
What you’ll need before we start:
- A free Penpot account.
- And that’s it!
Below is a more detailed step-by-step guide. Here’s a summary of the steps:
- Step 1: Download and install Cursor.
- Step 2: Enable MCP in Penpot and generate MCP key.
- Step 3: Add Penpot MCP to Cursor.
- Step 4: Open the Penpot working file.
- Step 5: Write your first prompt.
At the end of this tutorial, you’ll be ready to write AI prompts that can read and audit your Penpot files, edit your existing designs, and create new mockups.
1: Download and install the Cursor desktop app
Cursor will act as your AI client, and provide access to AI models (LLMs.)
- You can download Cursor from their website.
Cursor is a code editor that provides an integrated AI client. Penpot isn’t affiliated with Cursor, I’ve just found it a handy tool that acts as your AI client, as well as giving you access to multiple AI models through one subscription.
You can use any model with Penpot MCP. For design and development tasks, you will need to use a model that is capable of complex reasoning. Most of the newest and most popular models should be capable of these tasks.
2: Enable MCP in Penpot and generate MCP key
Penpot MCP will be the bridge between Cursor and your Penpot file.
- Go to your account settings in Penpot.
- Under the Integrations section, enable Penpot MCP.
Enabling Penpot MCP will open a modal with the option to generate your MCP key. An MCP key is a secret token to used access your Penpot files. Anyone with your MCP key can connect to your files, as long as the MCP is enabled. (So don’t share your key!)
- Choose an expiration date and generate an MCP key.
You can generate your key with no expiration date, unless you have a reason to require an expiration date.
Save your MCP key to your password manager as you won’t be able to copy and paste it again. If you accidentally share or lose your MCP key, you can always delete the existing key and generate a new one. (If you delete your key, you will need to update everywhere that used the old key to use the new key.)
- Don’t close the MCP key modal yet. We’ll use the configuration code in a minute.
3: Add Penpot MCP to Cursor
Open Cursor to connect Penpot MCP.
- Go to Settings > Tools & MCPs.
- Choose Add Custom MCP.
This will create and open a new file called mcp.json for your MCP server configuration settings for Cursor.
- Copy the configuration code from the larger text area in Penpot’s MCP settings into the
mcp.jsonfile in Cursor.
You can safely paste over any code or characters in that file unless it already contains settings for another MCP server. If there are settings for another MCP server in the file, add the Penpot MCP server following the same structure, using the"url"value from the Penpot MCP config (the"https://design.penpot.app/mcp/stream?userToken="bit.) - Save the file to update Cursor’s settings.
- Return to Settings > Tools & MCPs and you should see Penpot MCP listed with a green status icon.
4: Open the Penpot working file
Connect your open file to the MCP server.
Penpot MCP works with your current open file in Penpot.
- Navigate to the Penpot file you want to work with from the Penpot dashboard.
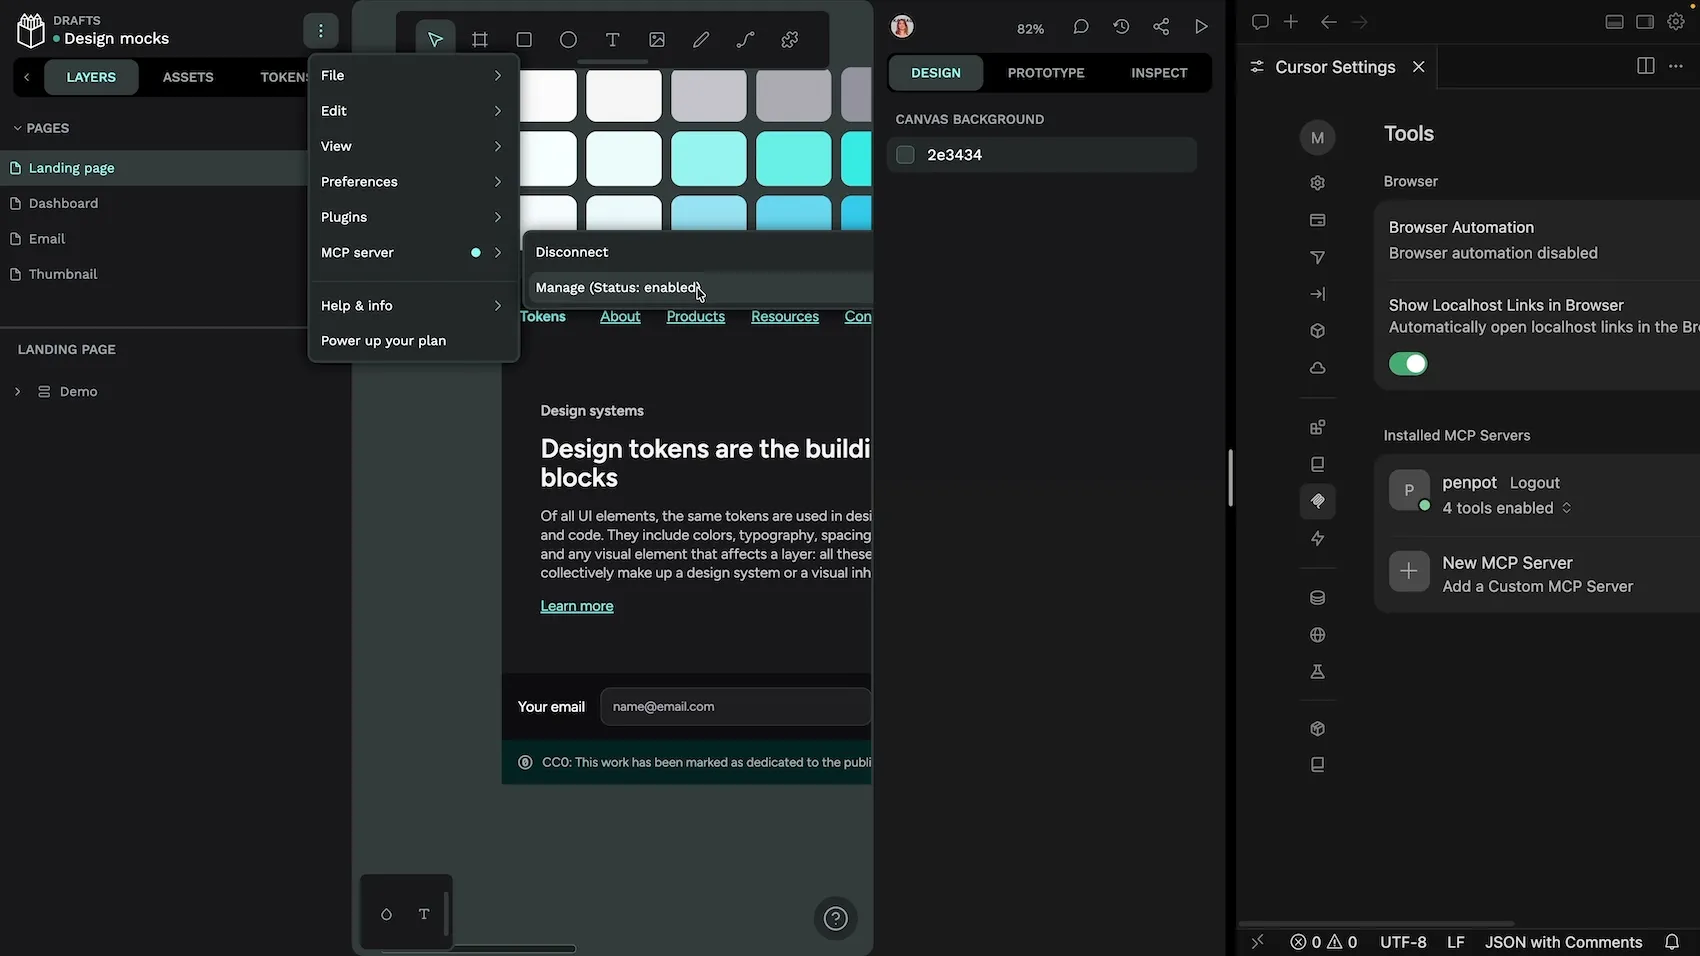
- Check that the Penpot MCP server is active in Penpot:
- Open the main menu from inside your Penpot file
- Under the MCP server section, it should say Disconnect (This shows it is connected.) And Manage (Status: enabled). (This shows it is enabled.)
You’re ready to write your first prompt!
5: Write your first prompt
Return to Cursor. Cursor’s agent will automatically use the Penpot MCP once it is installed and enabled.
- Open an existing or new project folder in Cursor.
- Open the agent chat panel from the chat icon in Cursor’s top menu.
- Ask What is the current open file in Penpot?
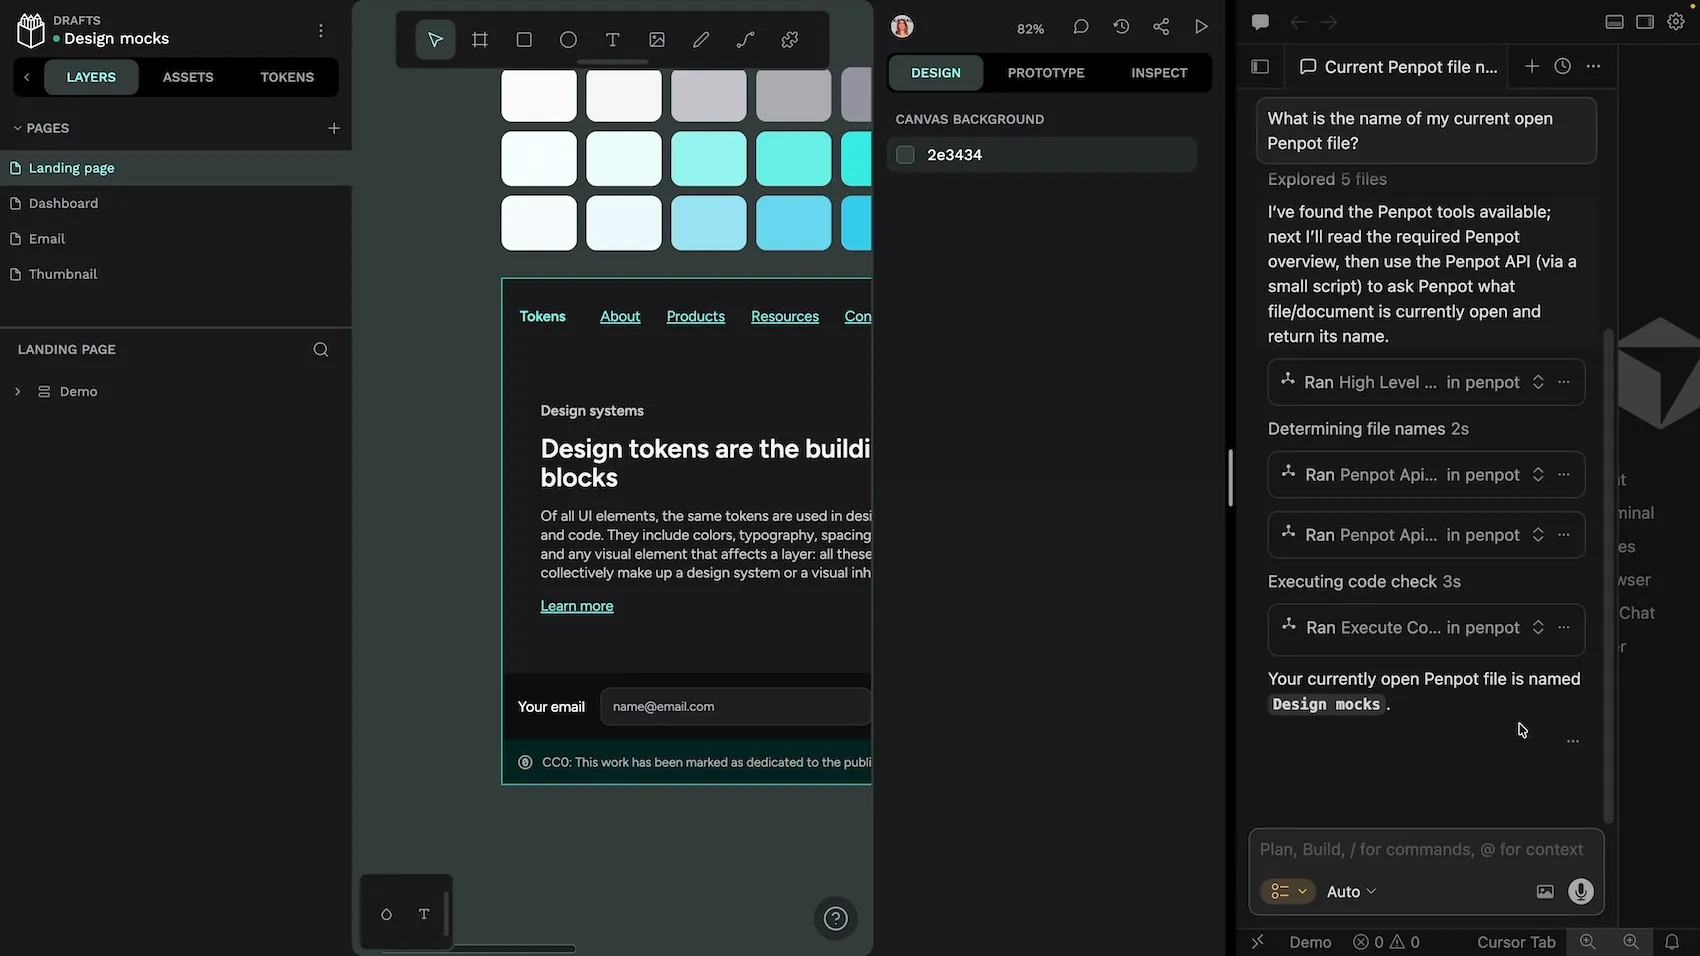
If the agent responds with the correct Penpot file name, you’re ready to move on to more interesting prompts! I recommend you read Juan’s guide to writing prompts if you’re not already familiar with AI design workflows.
Troubleshooting AI workflows with Penpot MCP and Cursor
There’s not many steps to go wrong in this process, but if you do have trouble, try the following:
- Check that you’ve saved the
mcp.jsonfile. - Restart Cursor.
- Ensure you have the correct file open in Penpot, and the MCP is enabled in the main menu.
AI workflow best practices
Your AI workflows are only as good as your prompts and the context (files and extra data) you give the model. AI isn’t magic: it follows what you tell it. If you don’t supply enough detail it will lean on its training data and drift toward generic, “average internet” design and code. Using models also has a real cost—in subscription spend and in compute (and energy) because tokens are spent both interpreting your input and writing the output.
For heavier work, you’ll want a model that can handle complex reasoning, but the right choice depends on what you’re actually trying to do. You can learn more about choosing the right model from the discussion I had with Juan during our Intro to AI workflows hands-on demo:
Related Blogs
Want to learn more about Penpot and AI workflows? Here are more tutorials to get you started: