How to make the switch from Figma to Penpot (Part II)
In this post, we’ll guide you through the practical steps to create a Penpot account, migrate your projects, and start customizing Penpot.
Our first blog post covered one of the most important steps in transitioning from Figma to Penpot—getting buy-in from your team.
Change can be challenging, especially when it comes to essential tools, but the benefits Penpot offers—like enhanced collaboration between designers and developers, open-source flexibility, and no licensing fees—make it worth the effort.
Now that you've laid the groundwork with your team, it’s time to dive into the next phase: actually making the switch. In this post, we’ll guide you through the practical steps to create a Penpot account, migrate your projects, and start customizing Penpot to suit your unique needs. Let’s get started!
Create a Penpot account
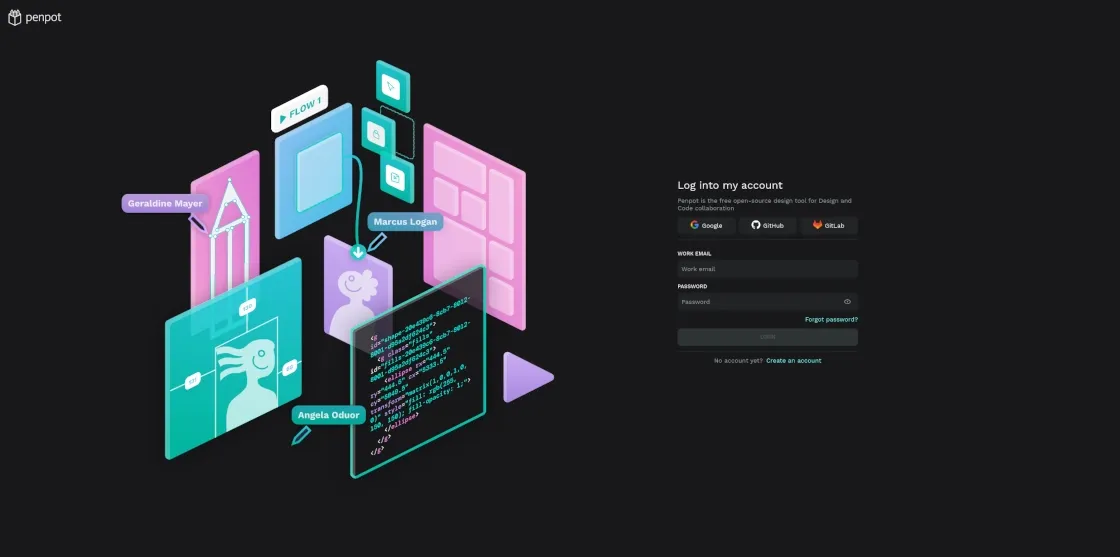
This may be the simplest part of the transition from Figma to Penpot because Penpot is OS-agnostic and can be started with any browser. Just sign up at Penpot.app with your preferred login. There's no need to provide payment info because it's free!
Upload your projects into Penpot
Penpot already supports Figma files, so you don't have to do much to bring in your existing projects, whether finished or in progress.
The first and easiest way to accomplish this is with our Figma Exporter plugin. This plugin takes your Figma files and exports them into a format that works on Penpot.
With the help of our partner, Runroom, we continually update this plugin, so everything you’ve created in Figma can be exported to Penpot. However, in some instances, the Exporter may not be 100% reliable because some features differ between Penpot and Figma. In such cases you can export your Figma files manually using the process below.
To manually move files from Figma to Penpot, simply export your designs from Figma in SVG file format in a ZIP folder. Store them someplace on your computer that you can easily access from a web browser.
Then, import the files you want to use in Penpot from the Projects Menu. The platform supports the SVG files downloaded from Figma and contained within the ZIP folder.
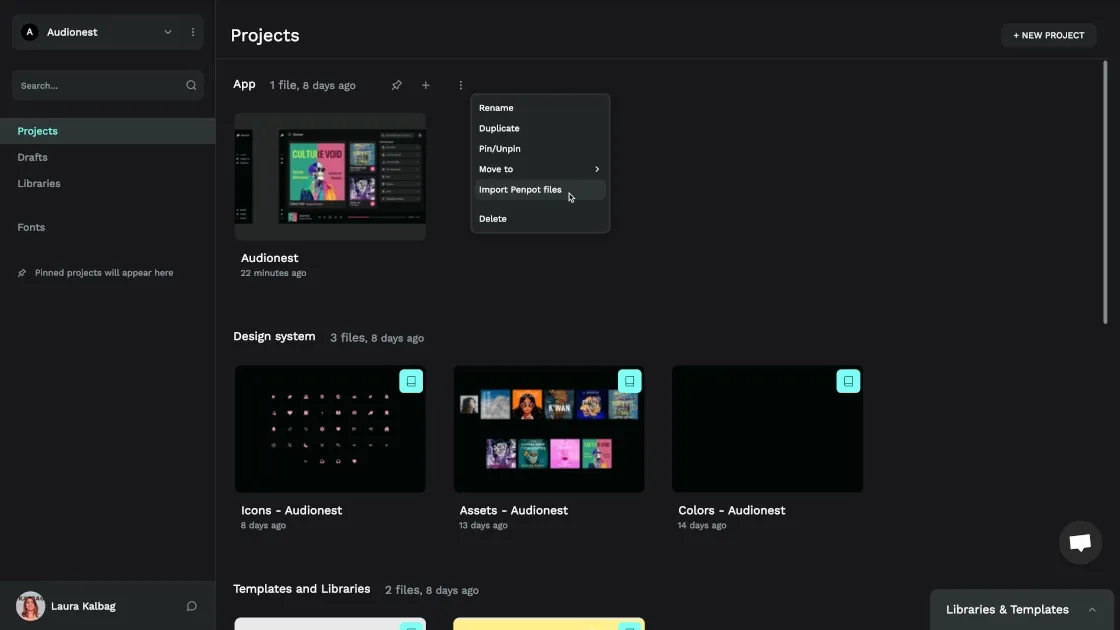
You'll get the chance to review the files before you import, giving you time to discard unnecessary files. You'll also see any incompatible files, so you can reformat them to a Penpot-friendly format.
Get started by using Penpot’s templates
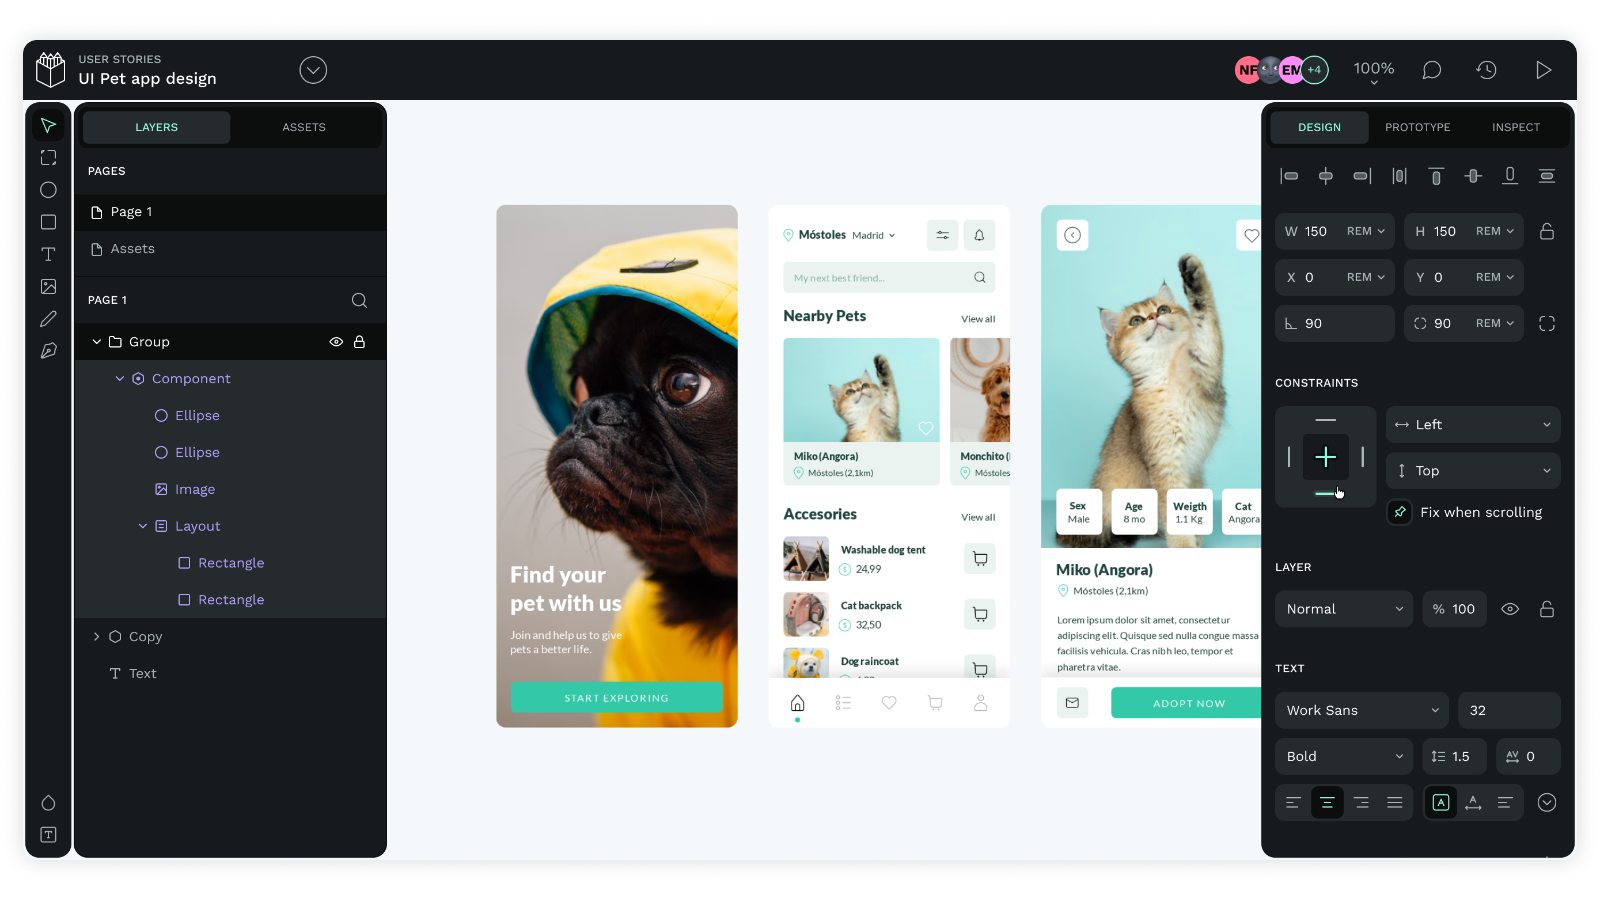
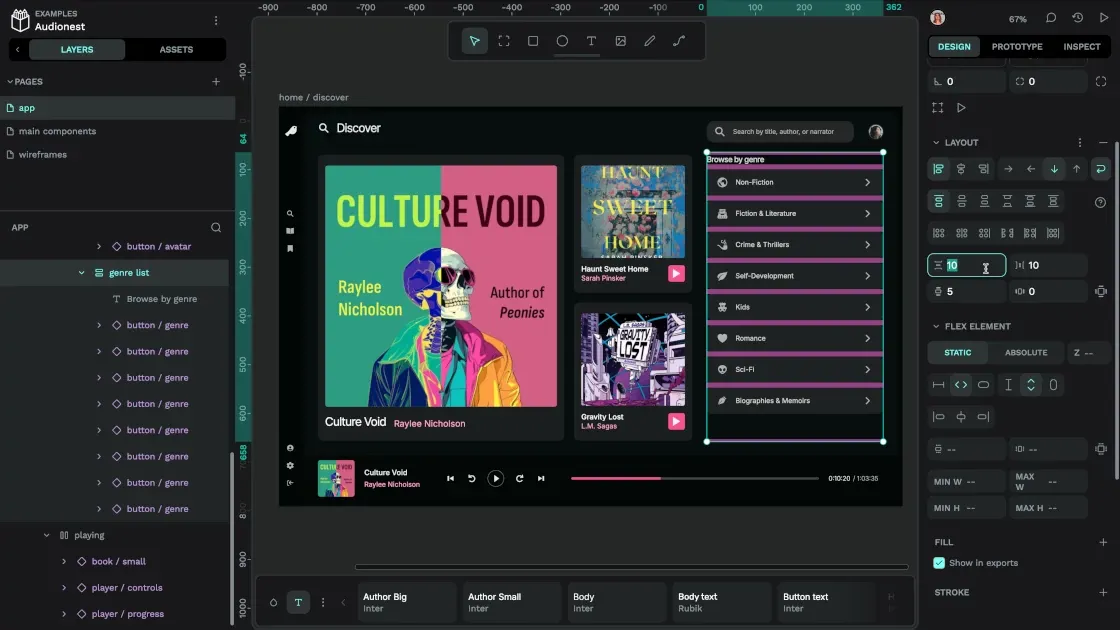
After you have files in your account, you can continue to work on them or take a moment to get to know Penpot. The software offers three main areas: Dashboard, Workspace, and View Mode. You'll need to access all three to keep track of projects, add new components, create assets, and see how they appear to others.
Our educator, Laura Kalbag, introduces you to the world of Penpot with this quick video tutorial guiding you step by step through everything you need to know to get started on your design journey in Penpot.
One of the best ways to get to know Penpot is to work with an existing template. If you’re completely new to Penpot, check out some of our templates on our Libraries and Templates page.
Customize Penpot and make it yours
Every team is a little different, so what you need from Penpot may not be what everyone else needs.
That's why we’ve made it easy for you to make Penpot your design home by giving you the power to truly customize it how you want it.
With Penpot, you can choose between:
- Light or dark mode
- Proportional scale
- Interface language: Penpot has been translated to over 30 languages thanks to our amazing community.
Plus, our API makes it easy for your team to integrate Penpot with your entire tech stack so it can become the exact design tool your team is looking for.
And soon, you'll have even more control with the introduction of Plugins, enabling you to extend Penpot's functionality in ways that align perfectly with your unique needs and creative process.
Get your developers involved
When working with Figma, chances are your developers and designers are fairly siloed despite the Dev Mode functionalities. Penpot takes it a step further by giving you even more control and flexibility.
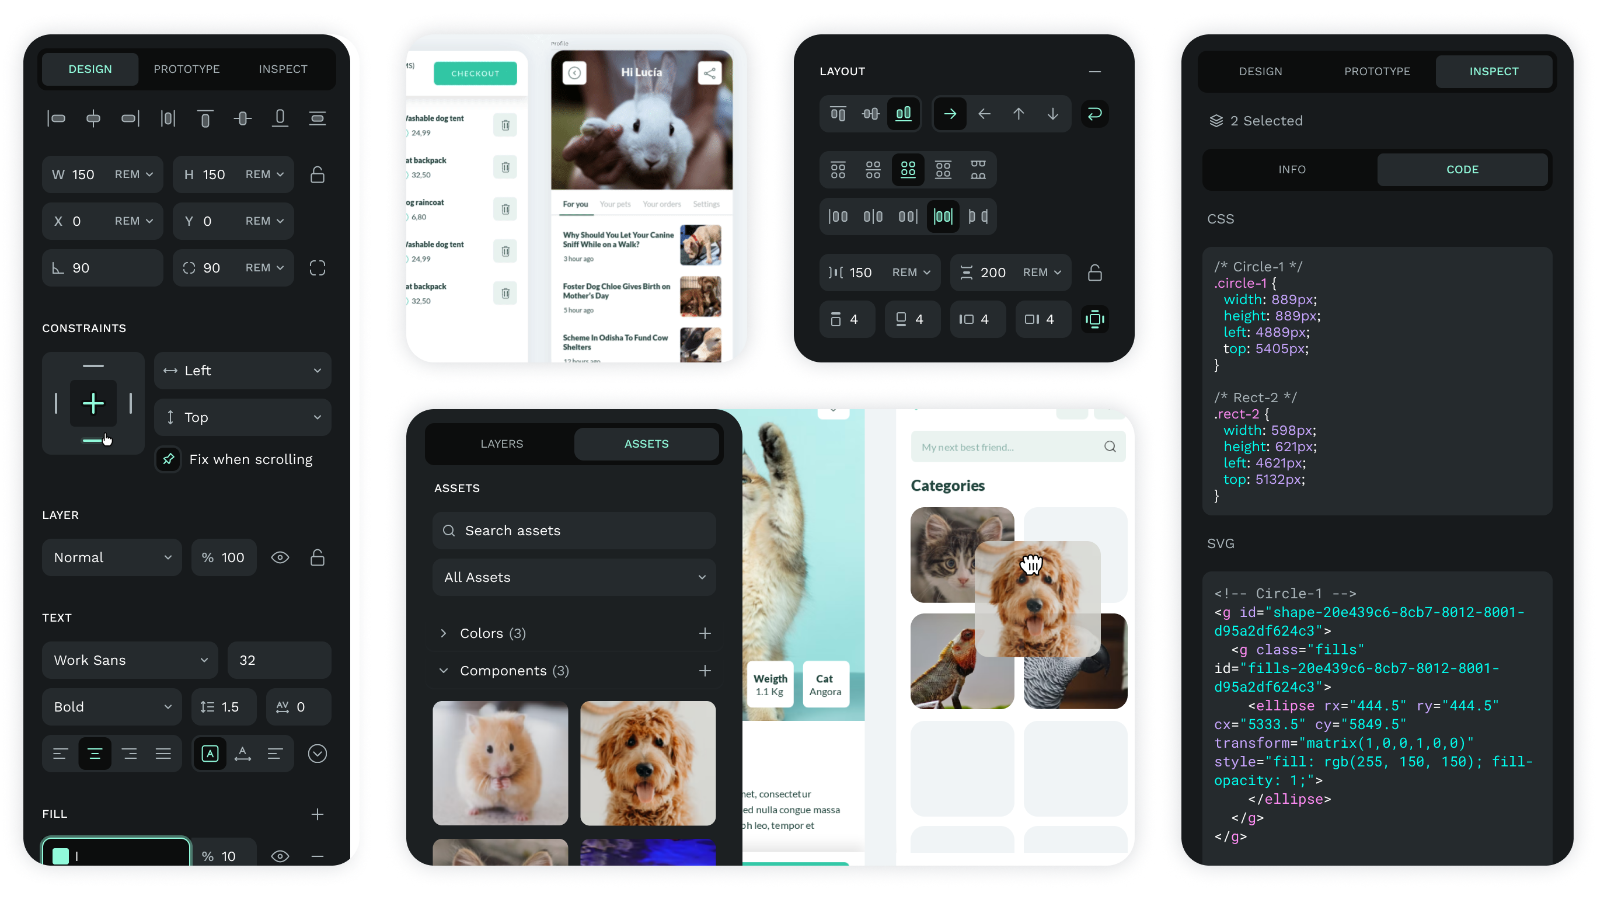
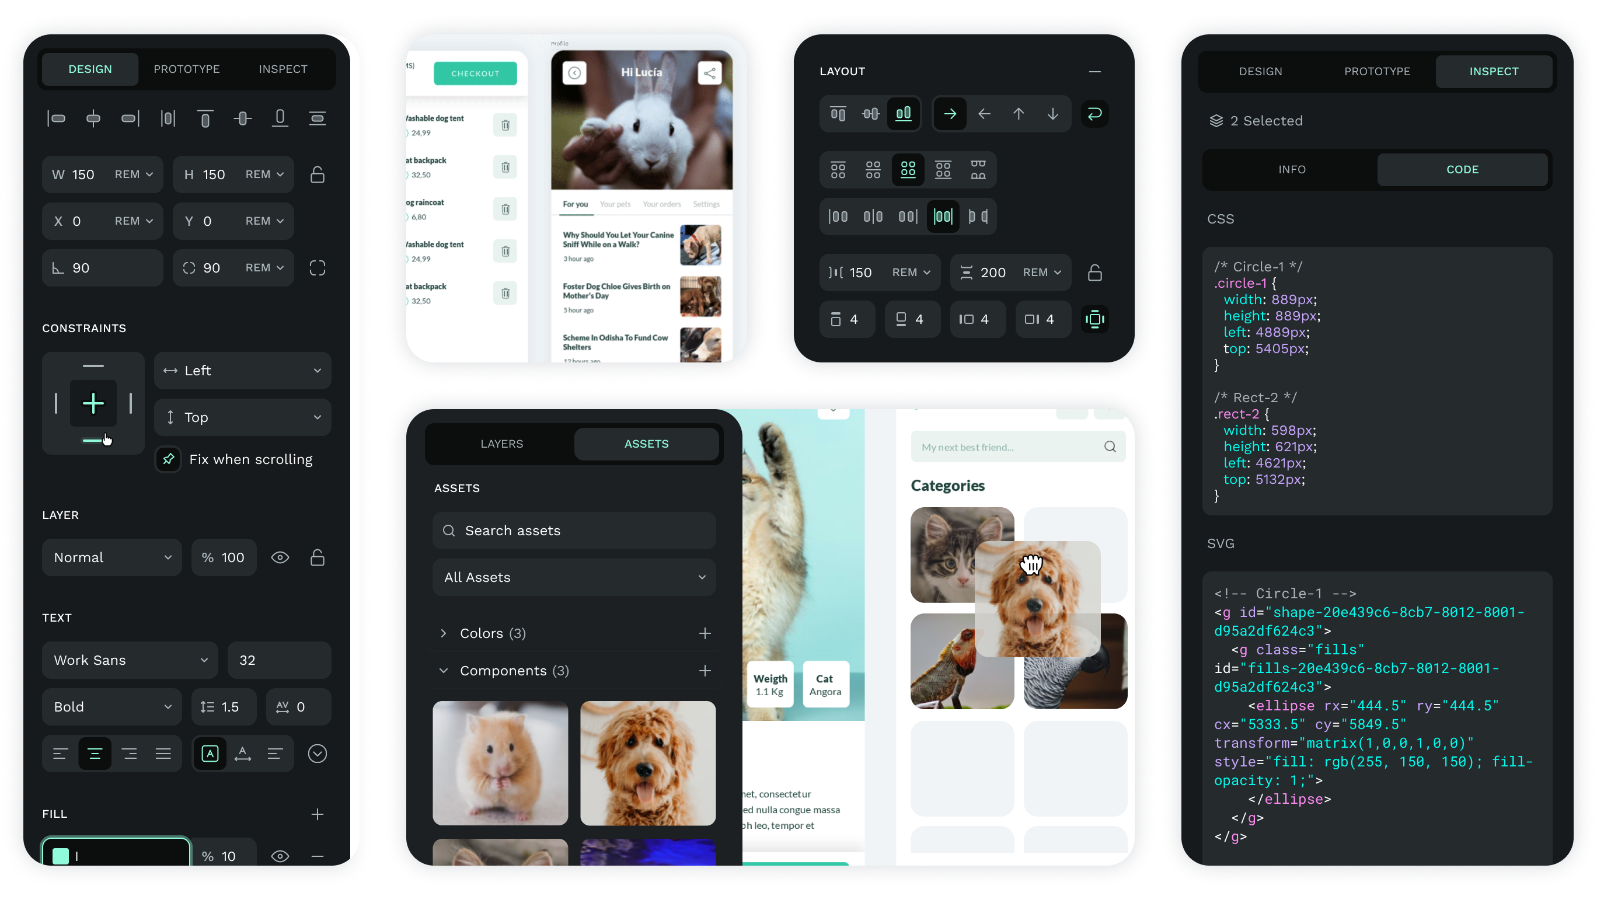
Penpot makes it easier for designers and developers to collaborate, providing richer coding insights into CSS and HTML in the Inspect tab. With Penpot, the process of shipping code becomes smoother and more efficient, making developers feel at home.
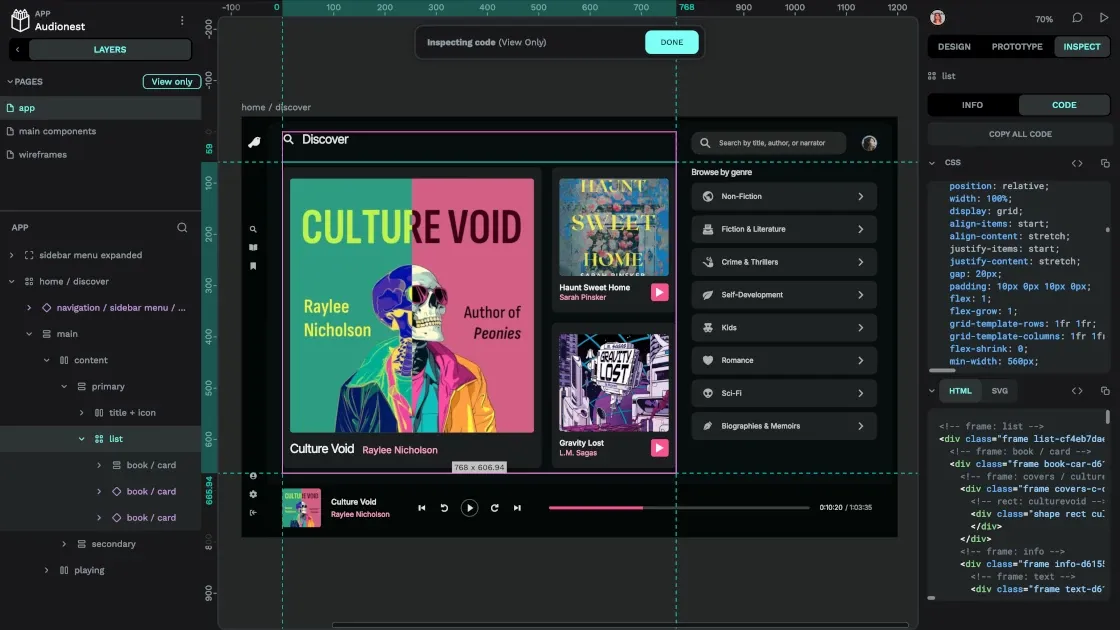
Our platform has been designed from the ground up to help designers and developers collaborate and create better products together. Our system has completely eliminated the need for handoffs, and your designers and developers can work in real-time on the same project for quicker, better results.
With this in mind, here are some Penpot features your developers will need to know about so that they can work more smoothly with your design team.
- Inspect mode: Use our inspect tab on any design in Penpot to get access to that file’s SVG, CSS, and HTML code.
- Integrations: Since we are open-source, it’ll be easier than ever to integrate the tools your developers use with Penpot for a seamless workflow.
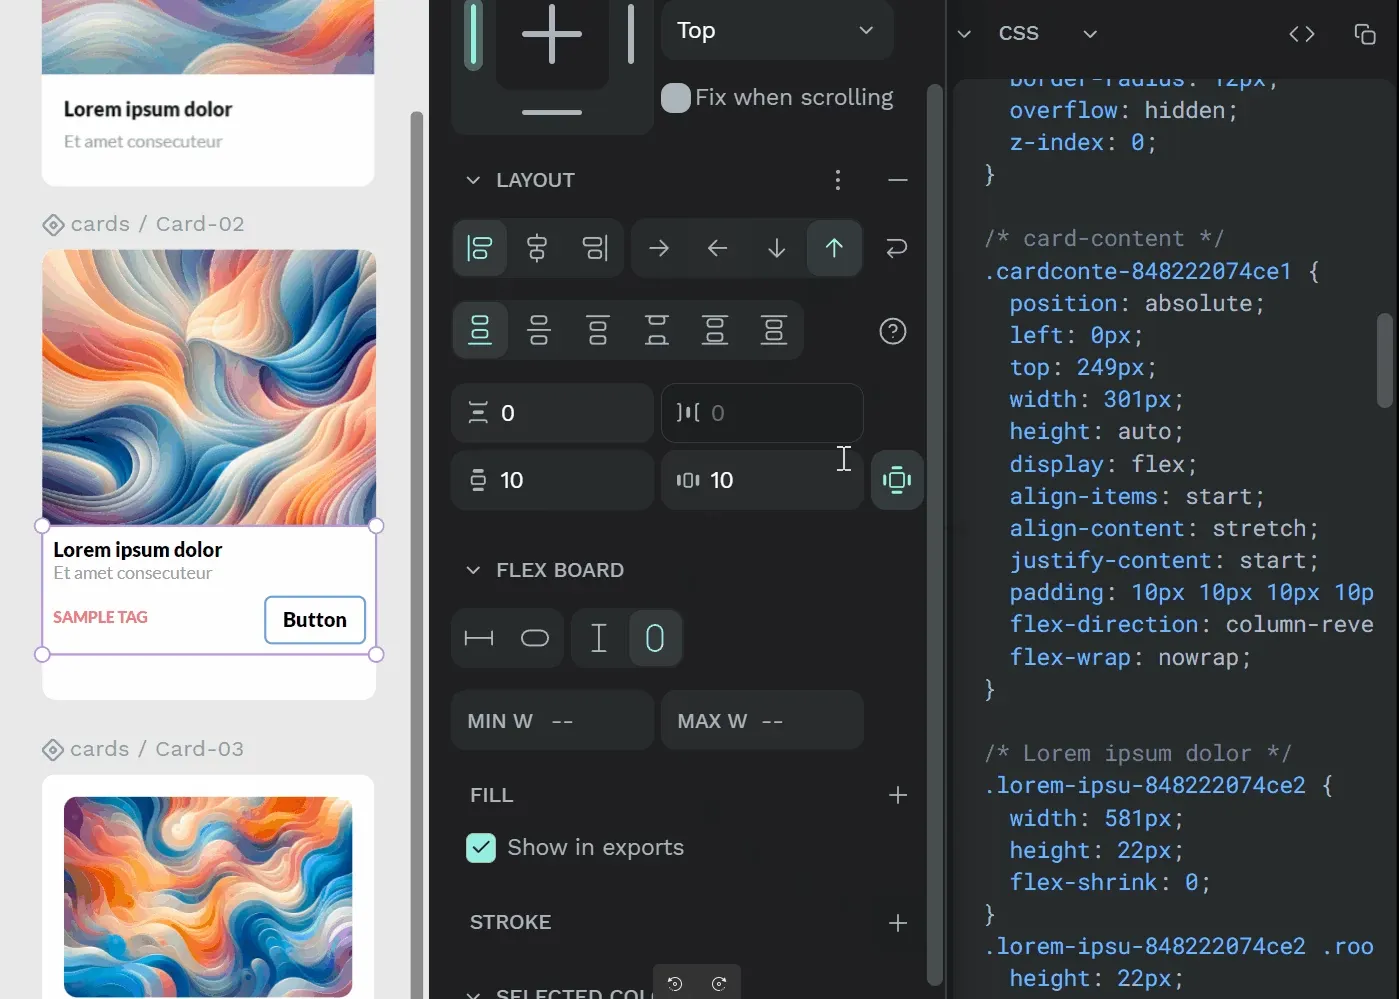
- CSS Flex and CSS Grid Layouts: Penpot allows for CSS flex and CSS Grid layouts. This means your designers can freely adjust a design without requiring your development team to implement those changes.
- Self-host instances to deploy Penpot on your own server.
You can learn more about what Penpot has to offer your developers on our Coding Features page.
Make the switch today
With no cost to get started (or ever if you don’t require support), Penpot’s design platform is a low-risk way to explore what’s possible for your next project. The company behind it, Kaleidos, is also focused on making things right for its community, taking every opportunity to hear feedback and create new features as needed.
The best way to see what's possible is by signing up for a free account. Try it today!
Related Blogs
Check out our other blogs, from informative topic guides to tutorials on how to get the most out of Penpot.
