Tutorial: How to navigate a Penpot file
You’ve been sent a Penpot file or downloaded a template from the Community. This tutorial will help you find your way around.

If you want to explore the range of features available in Penpot, check out our beginner's guide. Our user guide also provides detailed information, including a walkthrough of the Penpot interface and workspace.
Have you already got a Penpot account? Jump straight to Step 1. Has the Penpot file been shared with you by someone on your Penpot team? Jump straight to Step 2. Otherwise, the first thing you’ll need is a Penpot account.
- 0: Sign up for a free Penpot account
- 1: Import the file
- 2: Open the file
- 3: Start with Pages
- 4: Moving around the canvas and boards
- 5: Navigating layers
- 6: View mode
0: Sign up for a free Penpot account
Before you can open a Penpot file, you first need to sign up for a Penpot account. Good news: it’s free!
We suggest you use your work email so your colleagues can easily add you to their teams. Go to create your account, sign in, and then return here.
1: Import the file
When you first sign into Penpot, the dashboard will show the Your Penpot Projects area. Your Penpot is like a team space, but just for you. From this area, you can create and import files that are only visible to you and organize those files into projects that are only visible to you. You can always share these files and move these projects into shared teams in the future.
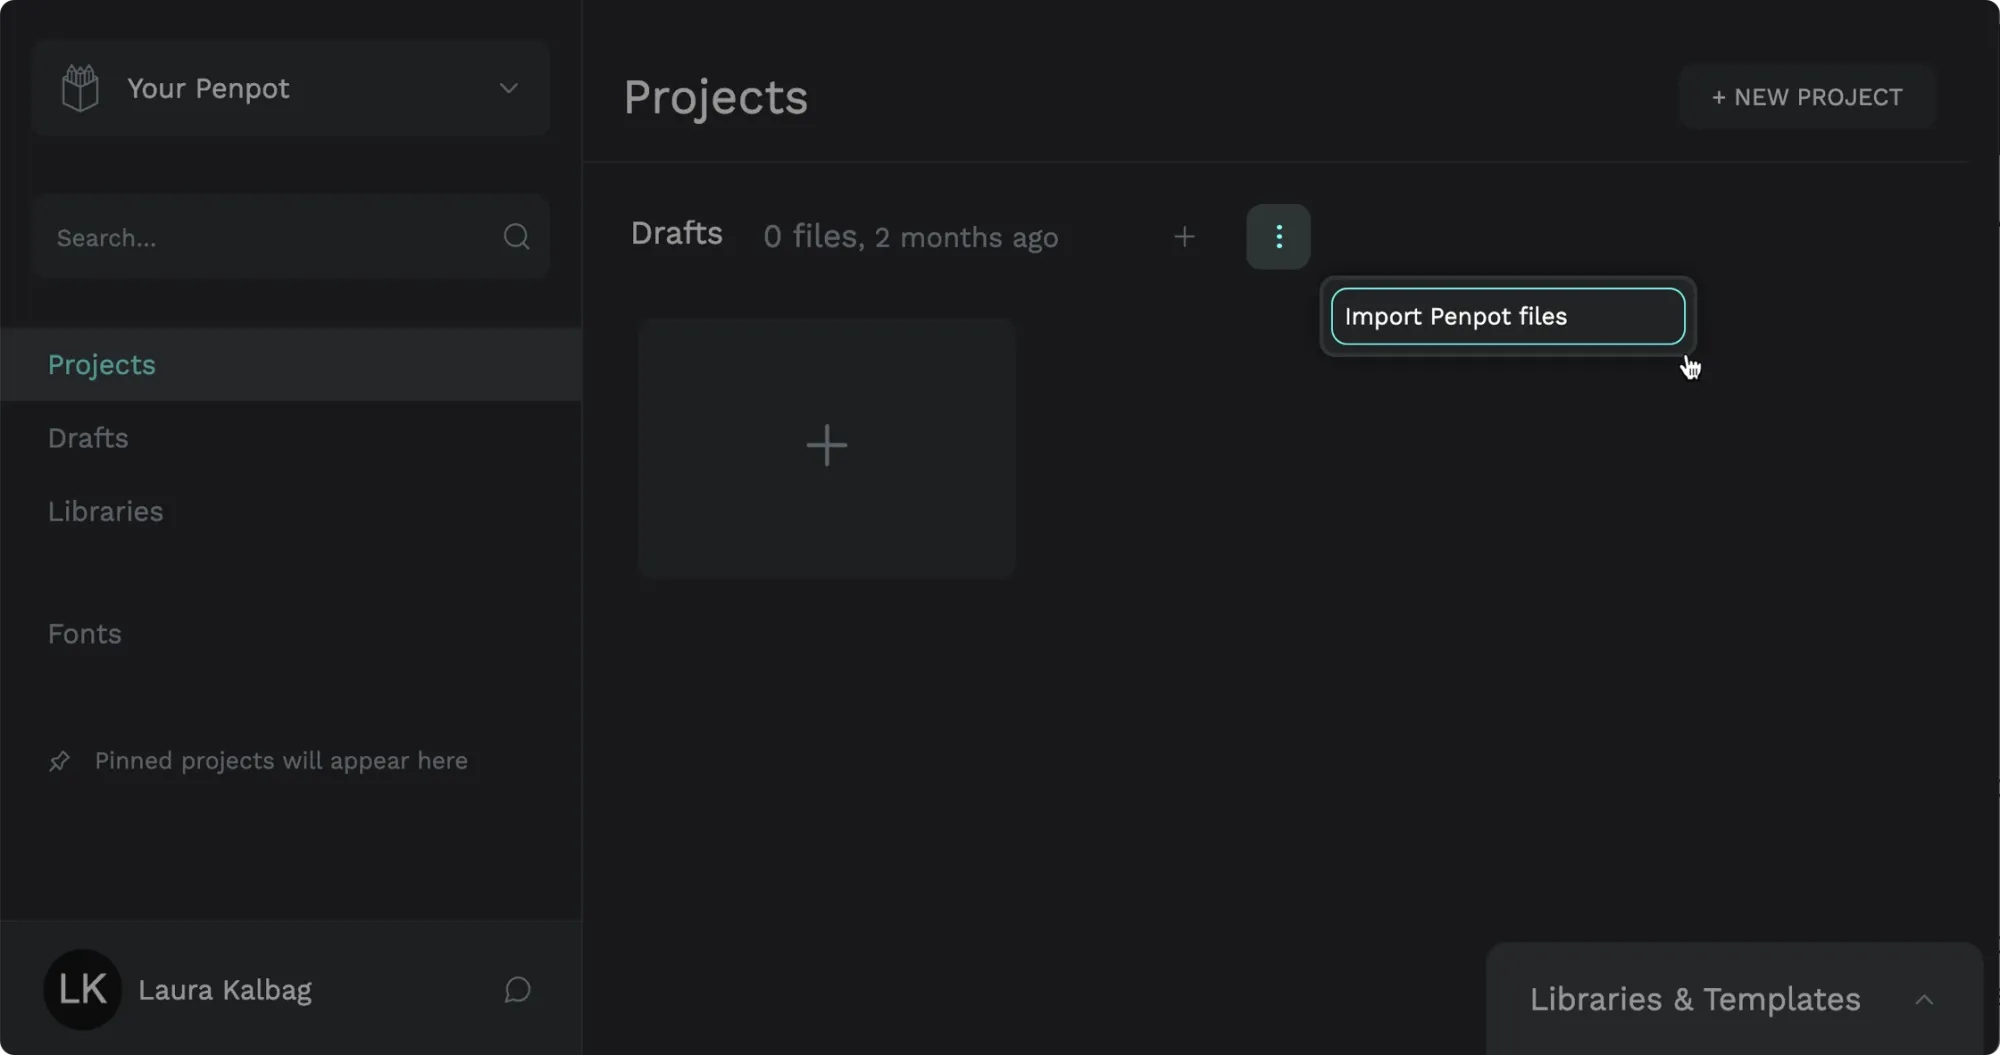
1.1 A triple dot icon button is located alongside each project name (including the default Drafts project). You can use that button to open the project menu, or right-click the project name, and choose Import Penpot files.
1.2 Select the file you want to import from your computer.
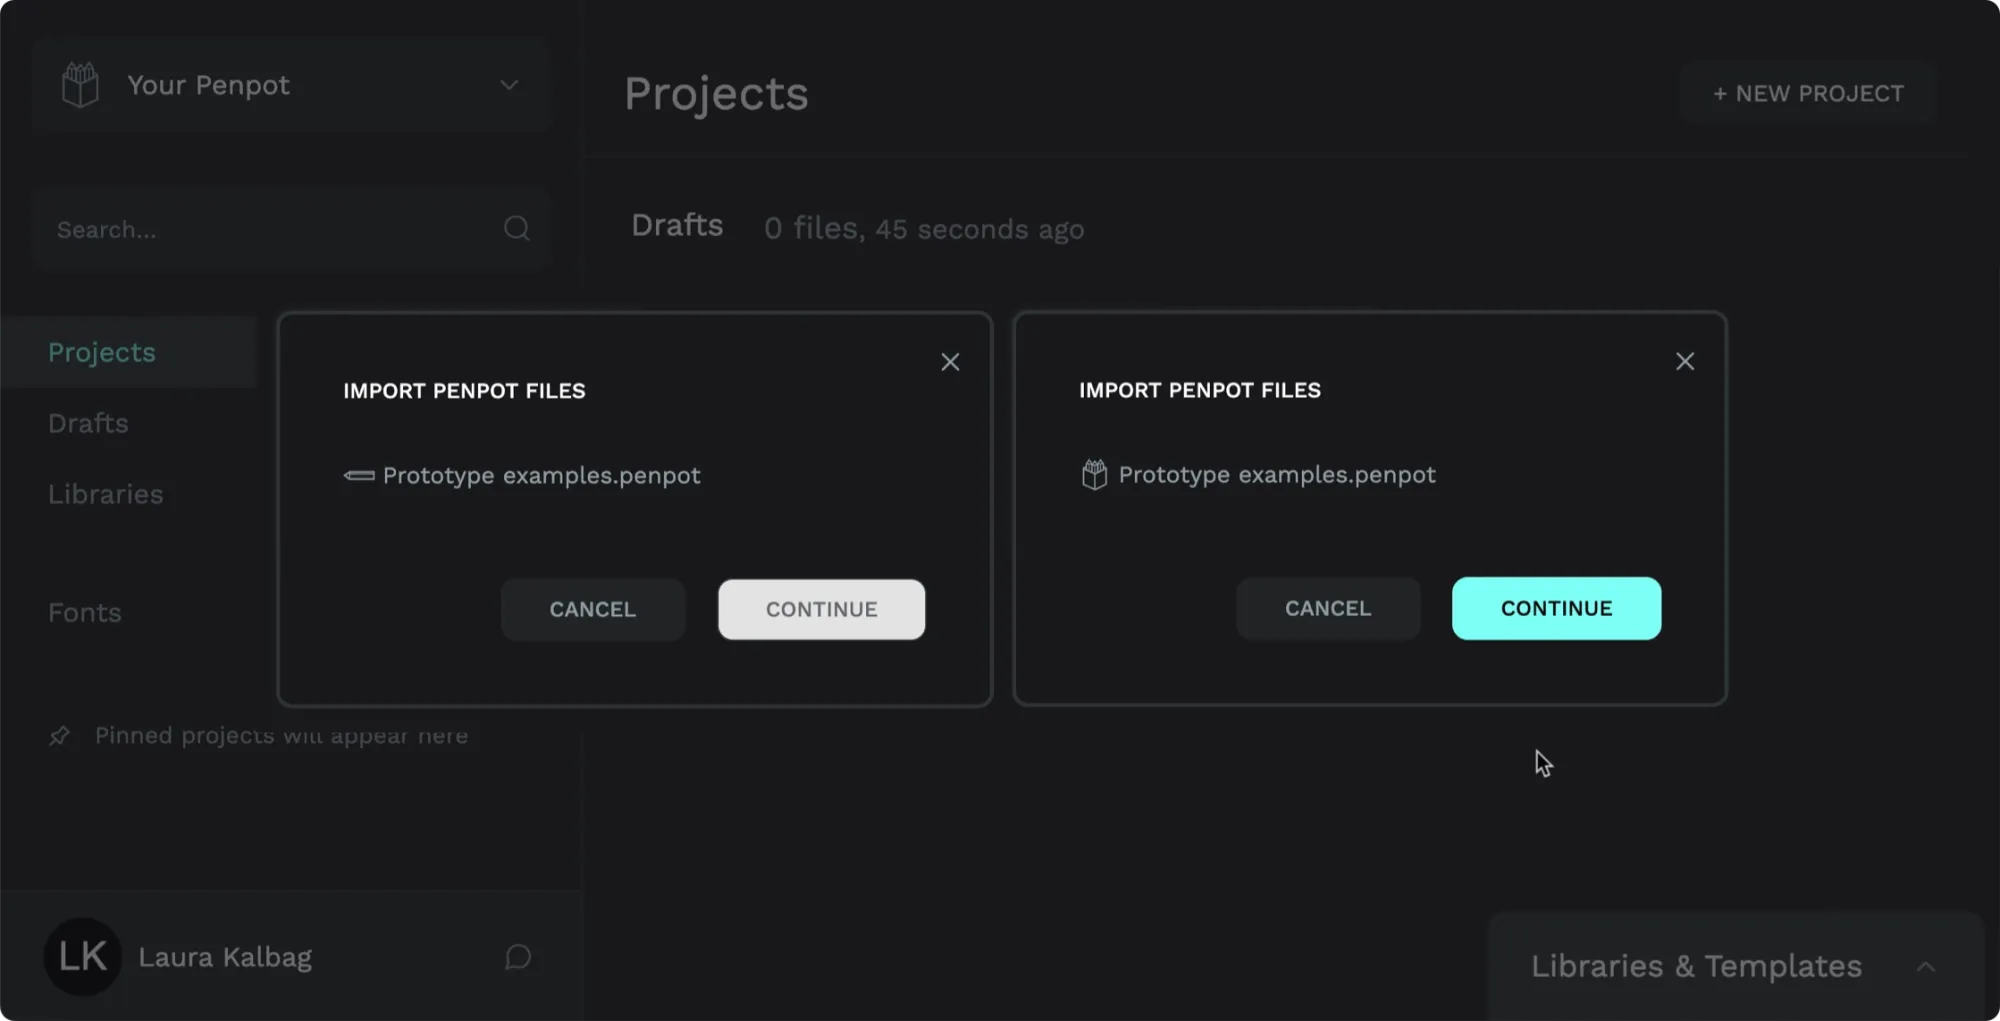
1.3 Once the file is uploaded, press Continue to continue the file import.
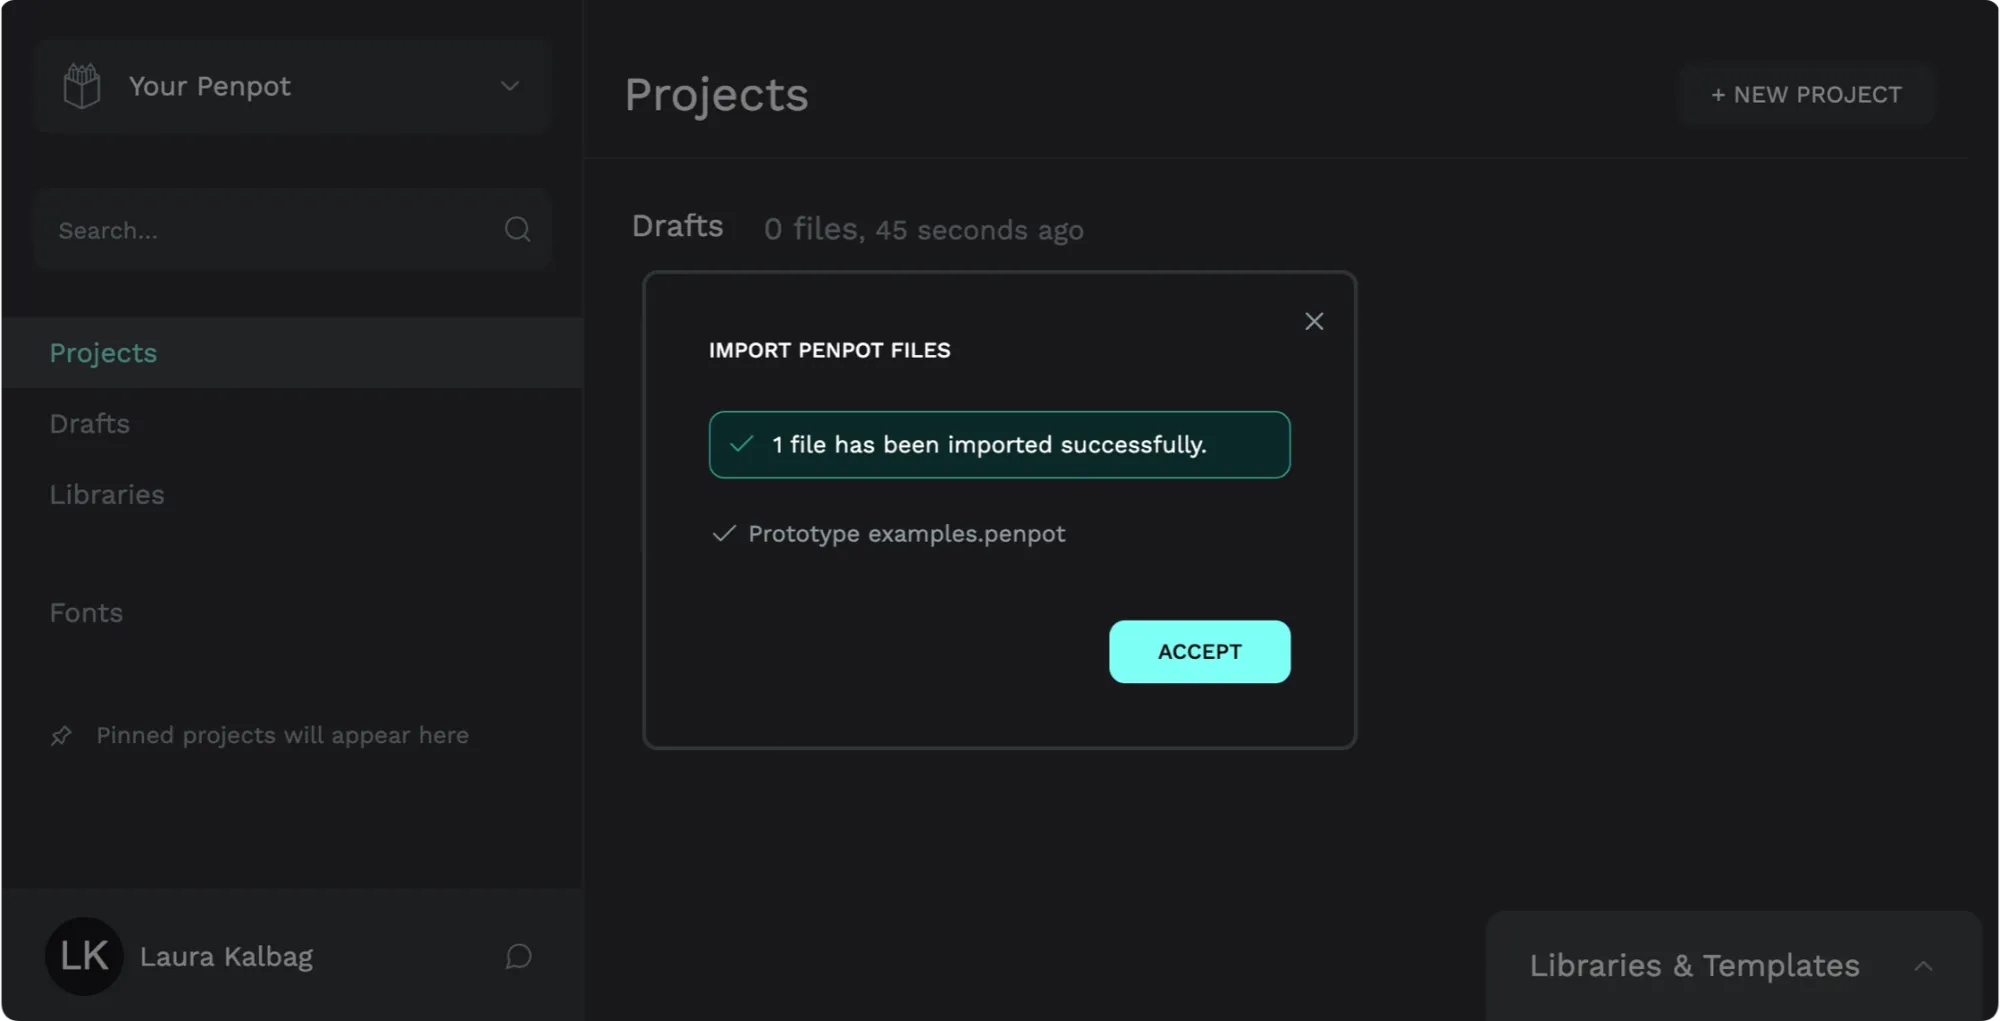
1.4: Press Accept to return to the dashboard once the file has been imported.
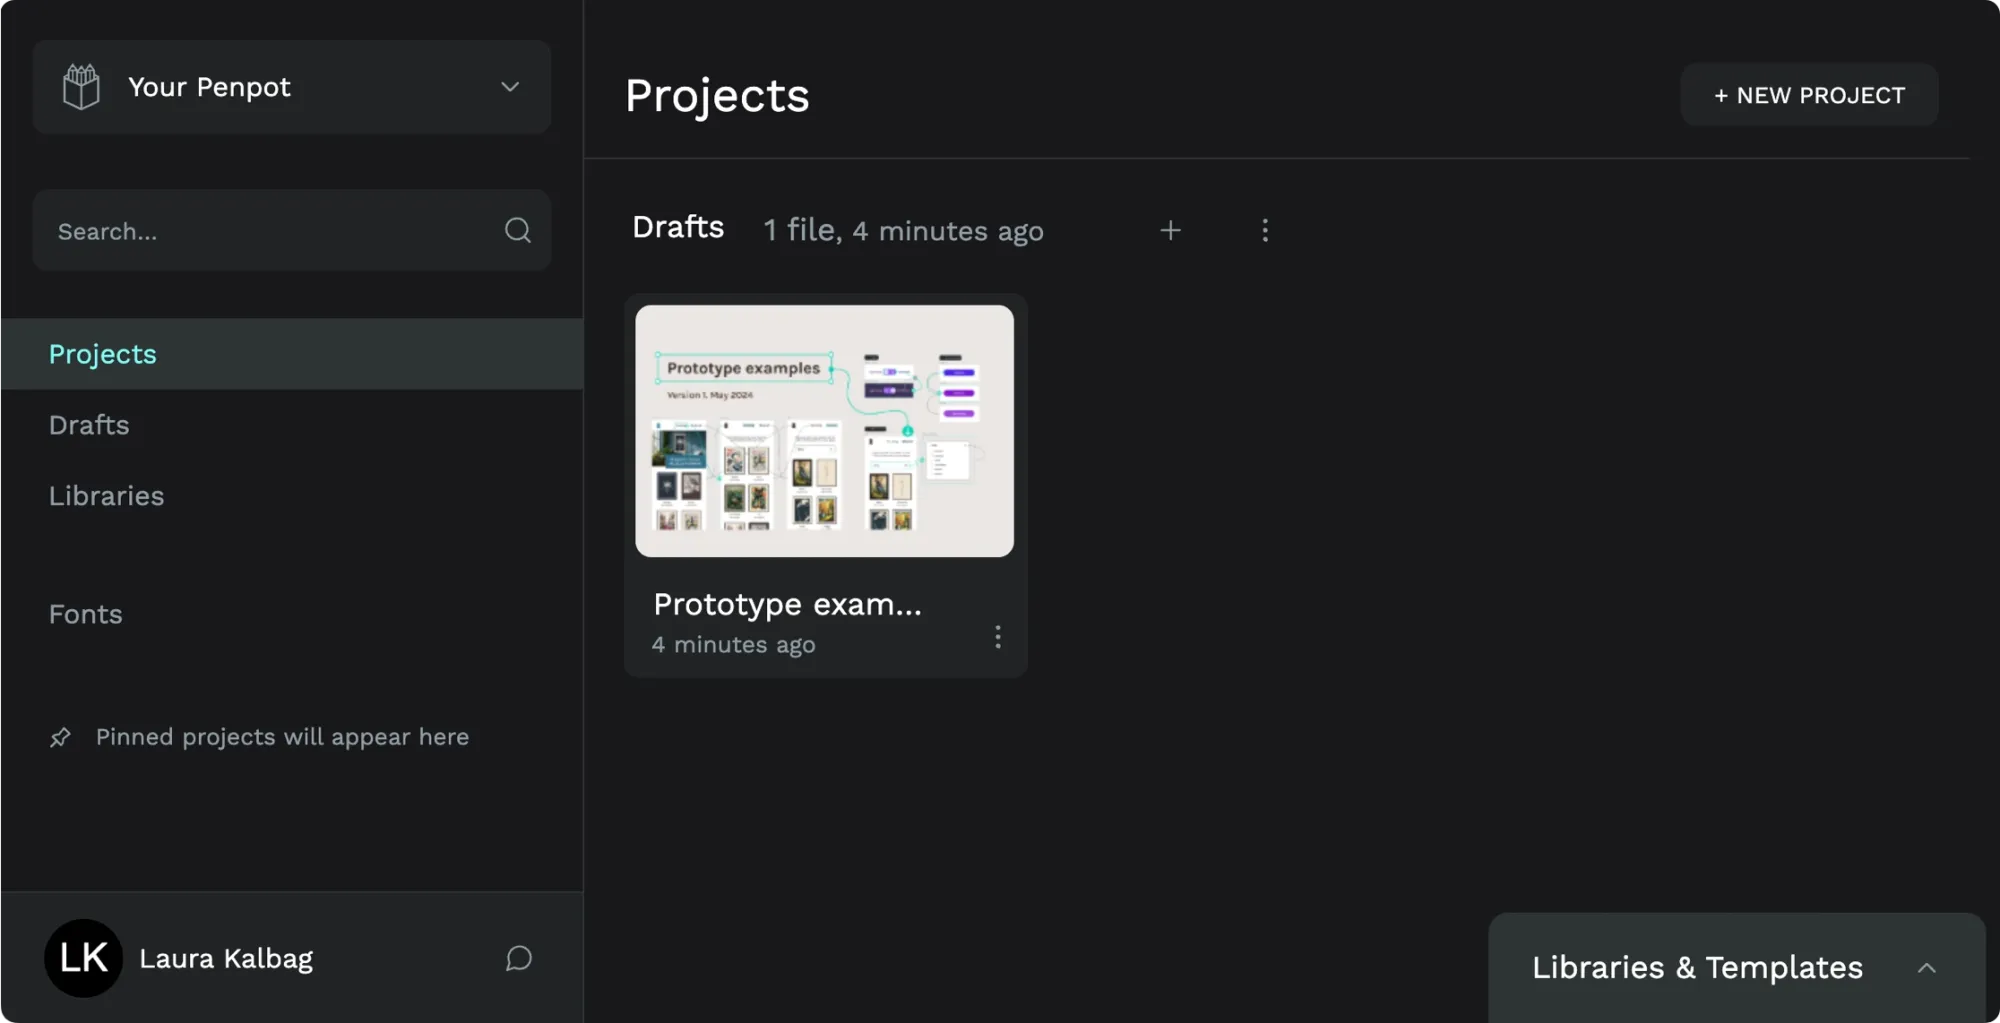
After you have imported a file into a project, it will be displayed as the most recent file.
2: Open the file
Double-click anywhere on the file image or information to open the file. You can also open the file from the file menu. To access the file menu, right-click the file, hover, or keyboard focus the file to bring up the triple icon menu button, and press that button to open the menu.
Opening a team file
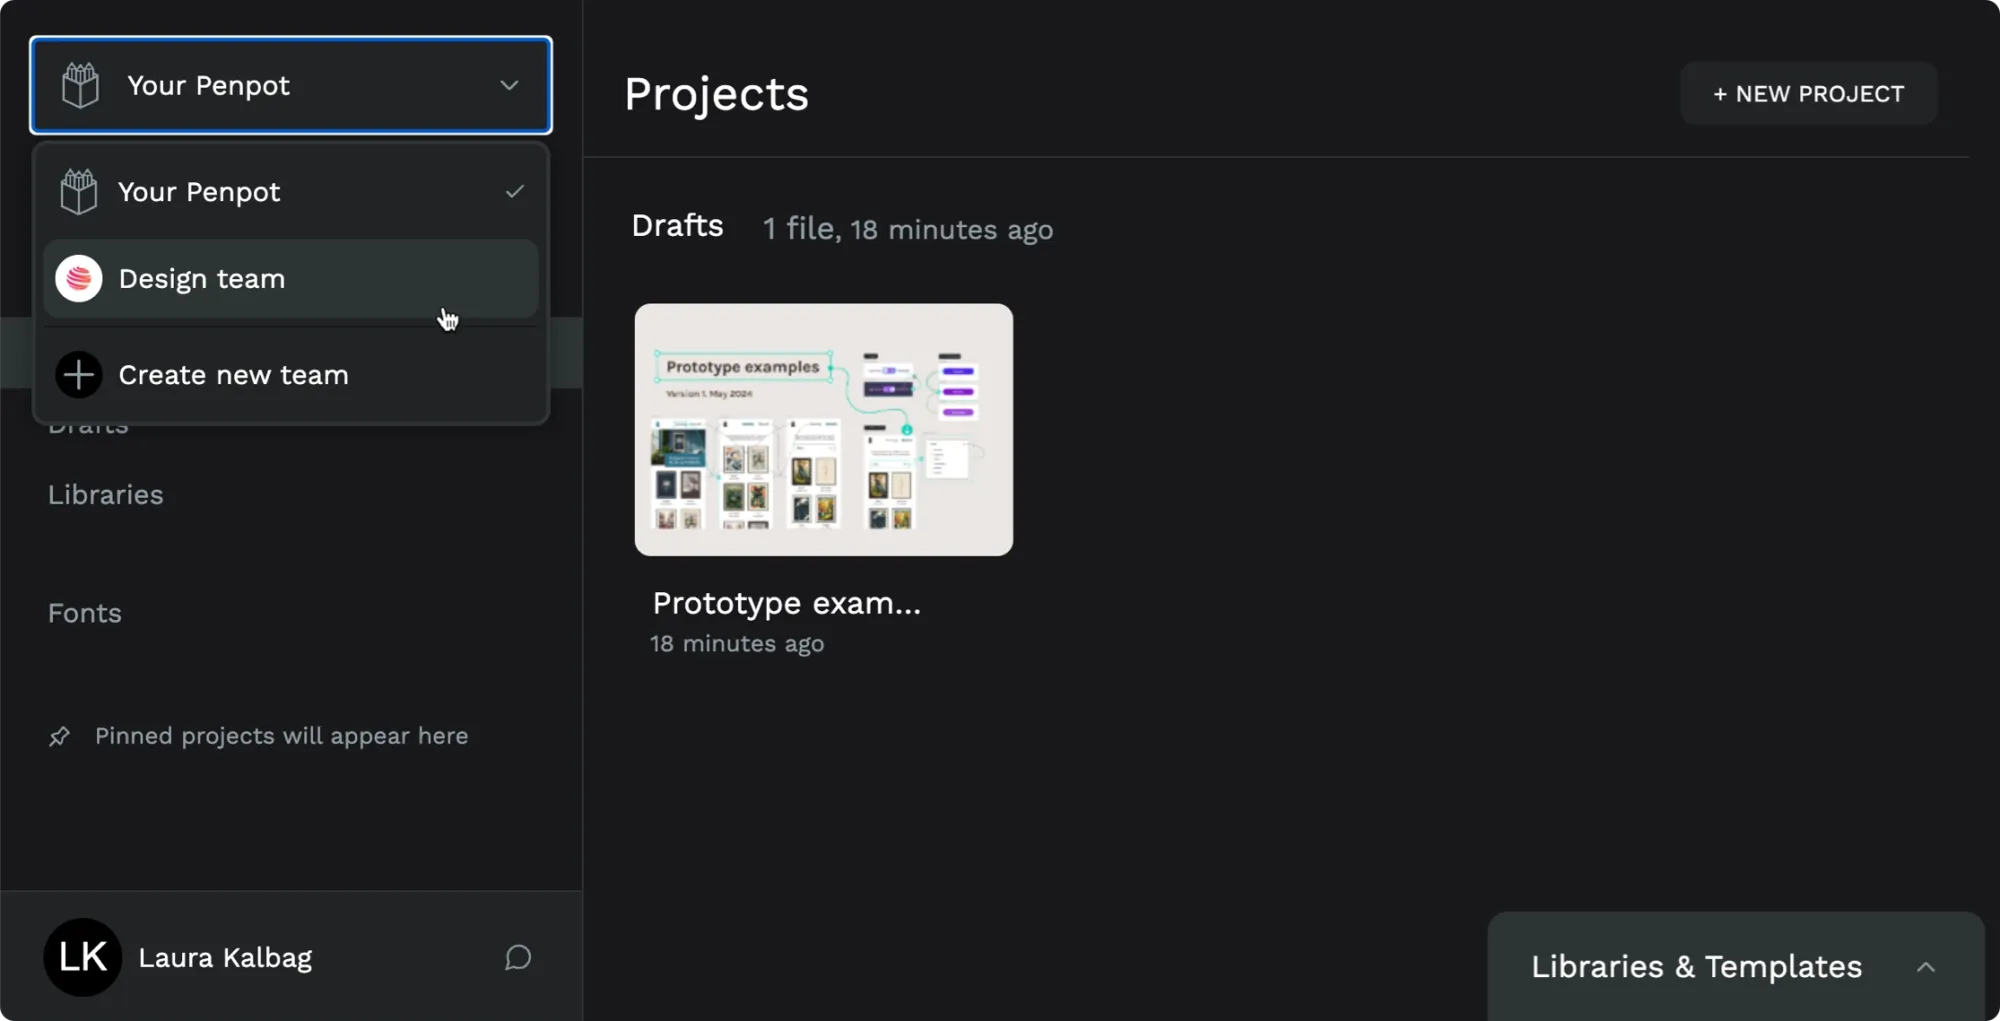
If you are a member of the team, you might need to navigate teams and projects to find the file you want to open.
You can switch teams from the menu in the top left of the Penpot dashboard.
If you know the file name, search for its name in the left sidebar to bring the file up in your dashboard:
If you can’t find the file you’re looking for at first glance, try using the Show all files button alongside each Project name:
Use the Show all files button to view all files, including older files, from that project.
Double click anywhere on the file image or information to open the file.
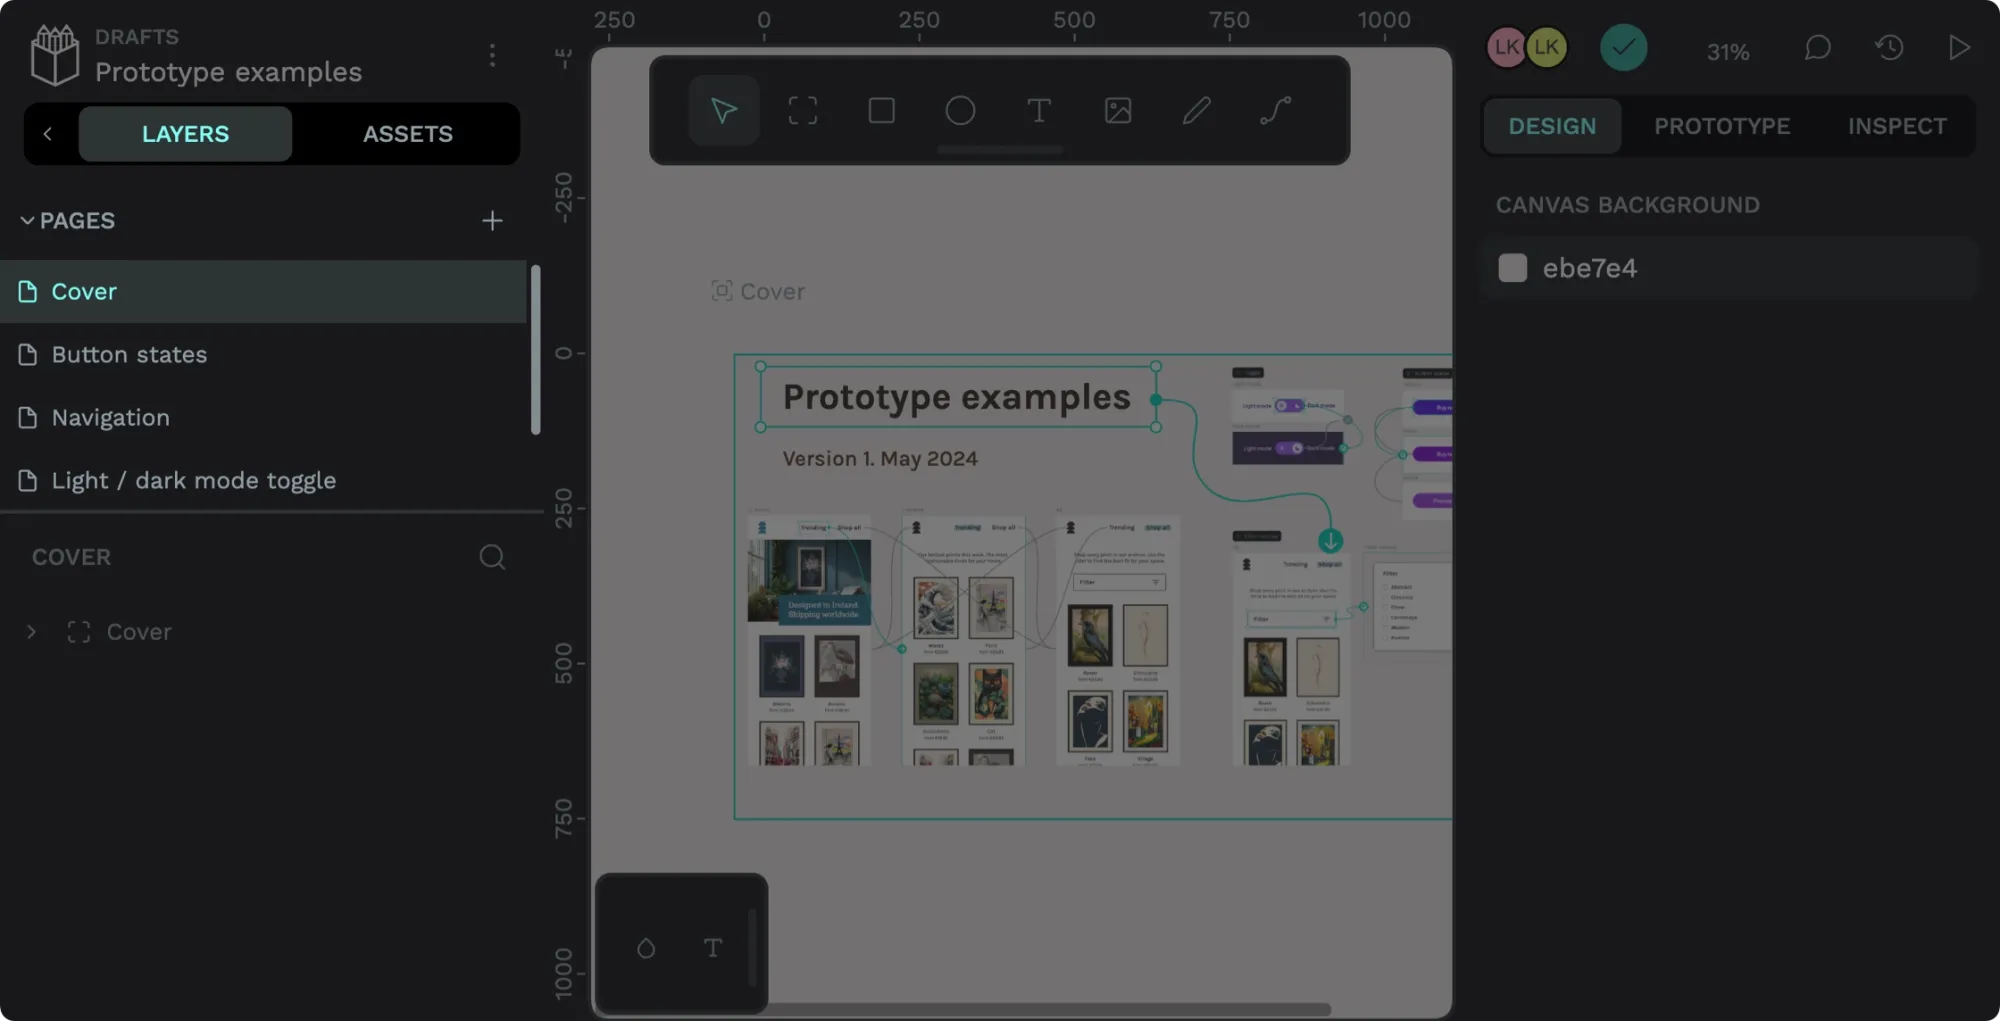
3: Start with Pages
Many users organize their Penpot files into multiple pages. You can switch between Pages from the left sidebar while the Layers panel is selected.
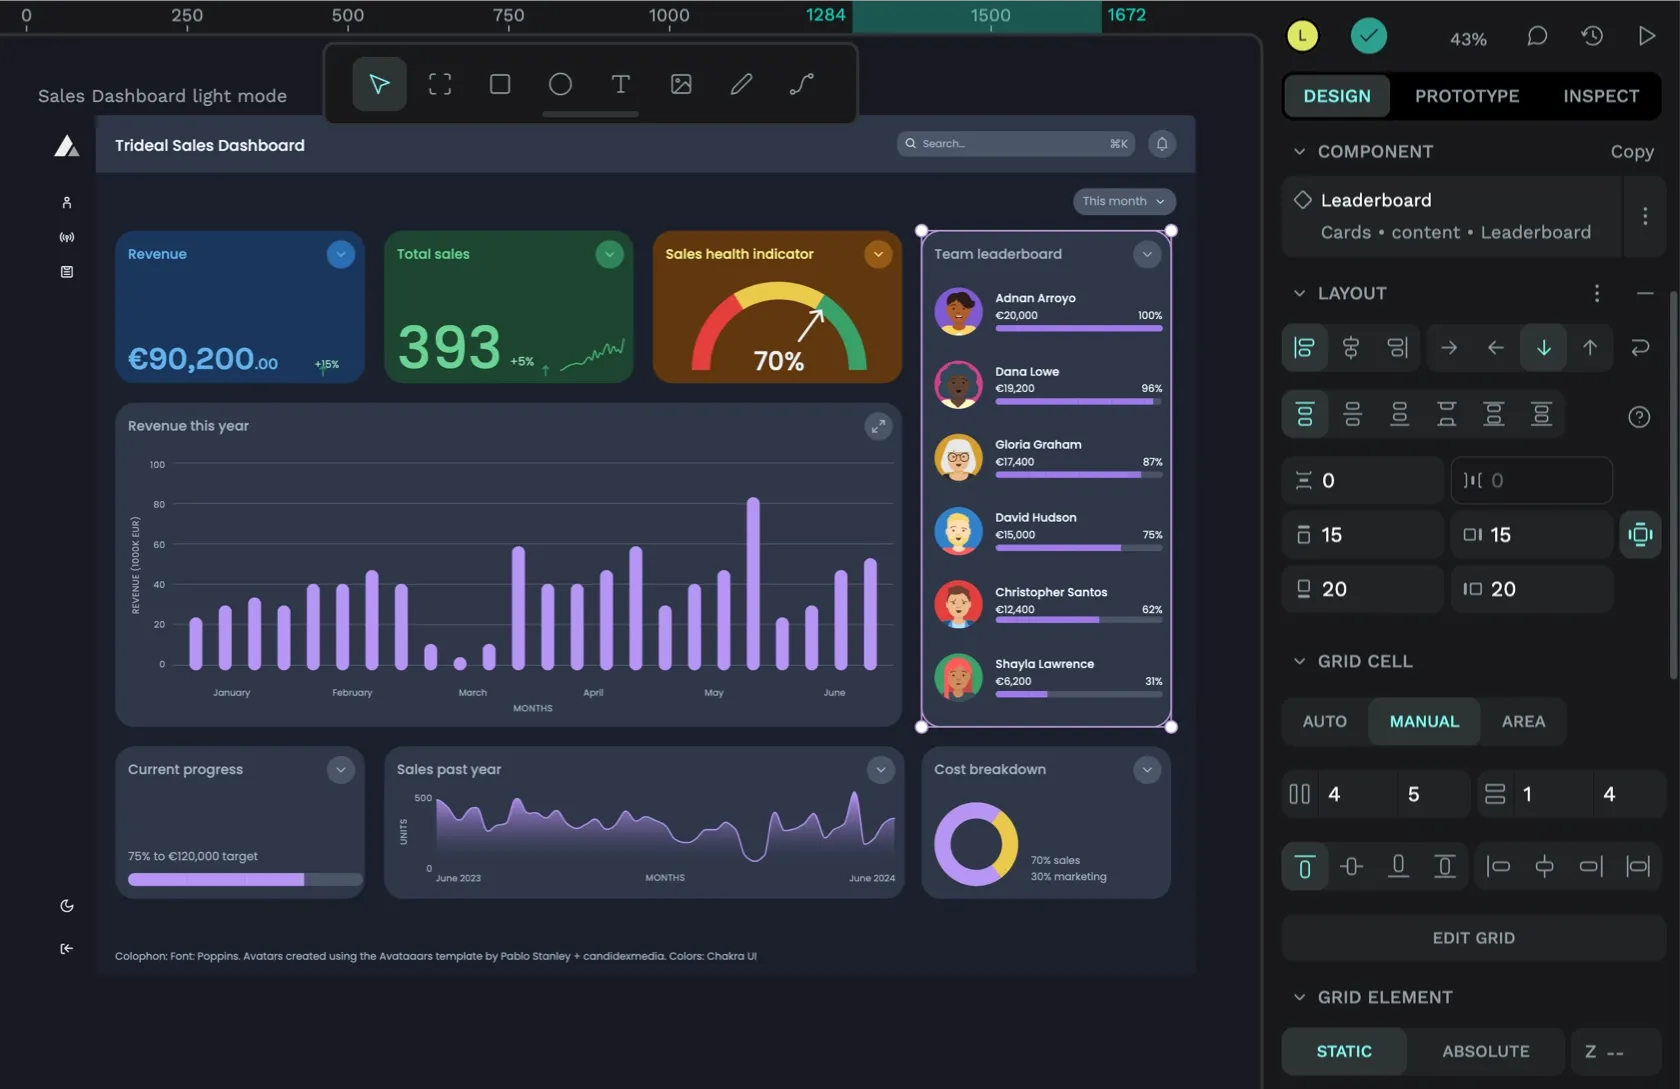
4: Moving around the canvas and boards
The viewport is the central area of Penpot’s workspace, where the canvas is displayed. The canvas is where you create your design work. The canvas is practically infinite in height and width. There are several ways you can move around the canvas:
- Scrolling: You can use the scroll bars on the right and bottom of the viewport to view all the objects on the canvas.
- Panning: An alternative to scrolling is holding down the space bar and using the mouse inside the viewport area to drag the canvas into view.
- Zooming: The current zoom level of the viewport is displayed at the top of the right sidebar. A high zoom level % will show less of the canvas and more object detail. A lower zoom level % will show more canvas and less object detail. You can adjust the zoom level from the menu accessible by clicking the zoom level %. There are also helpful keyboard shortcuts for zoom.
The Zoom to fit all option fits all objects on the canvas inside the viewport.
Navigating boards
In Penpot, users typically organize content on boards. A board is a container for design work, often representing a screen, view, or page.
To select a board:
- Scroll or pan to the board and click the name above it to select it.
- Click on the board name in the Layers list in the left sidebar to select it.
Focus mode
Once you’ve selected a board, you can make it the focus of the viewport. Focus mode fits the board into the viewport and shows only that board’s layers in the Layers panel in the left sidebar:
- Right-click the selected board and choose Focus on from the menu.
- Press F for the focus on keyboard shortcut.
You can exit focus mode by toggling the Focus mode button in the Layers panel in the left sidebar.
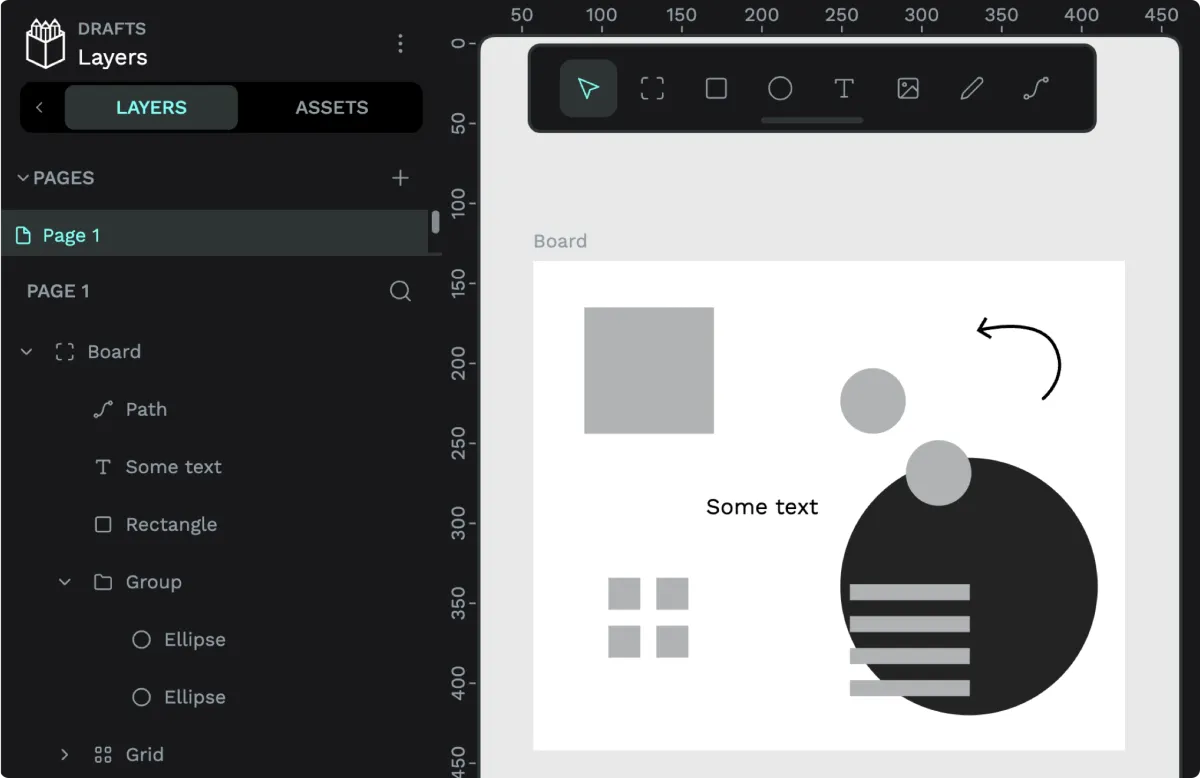
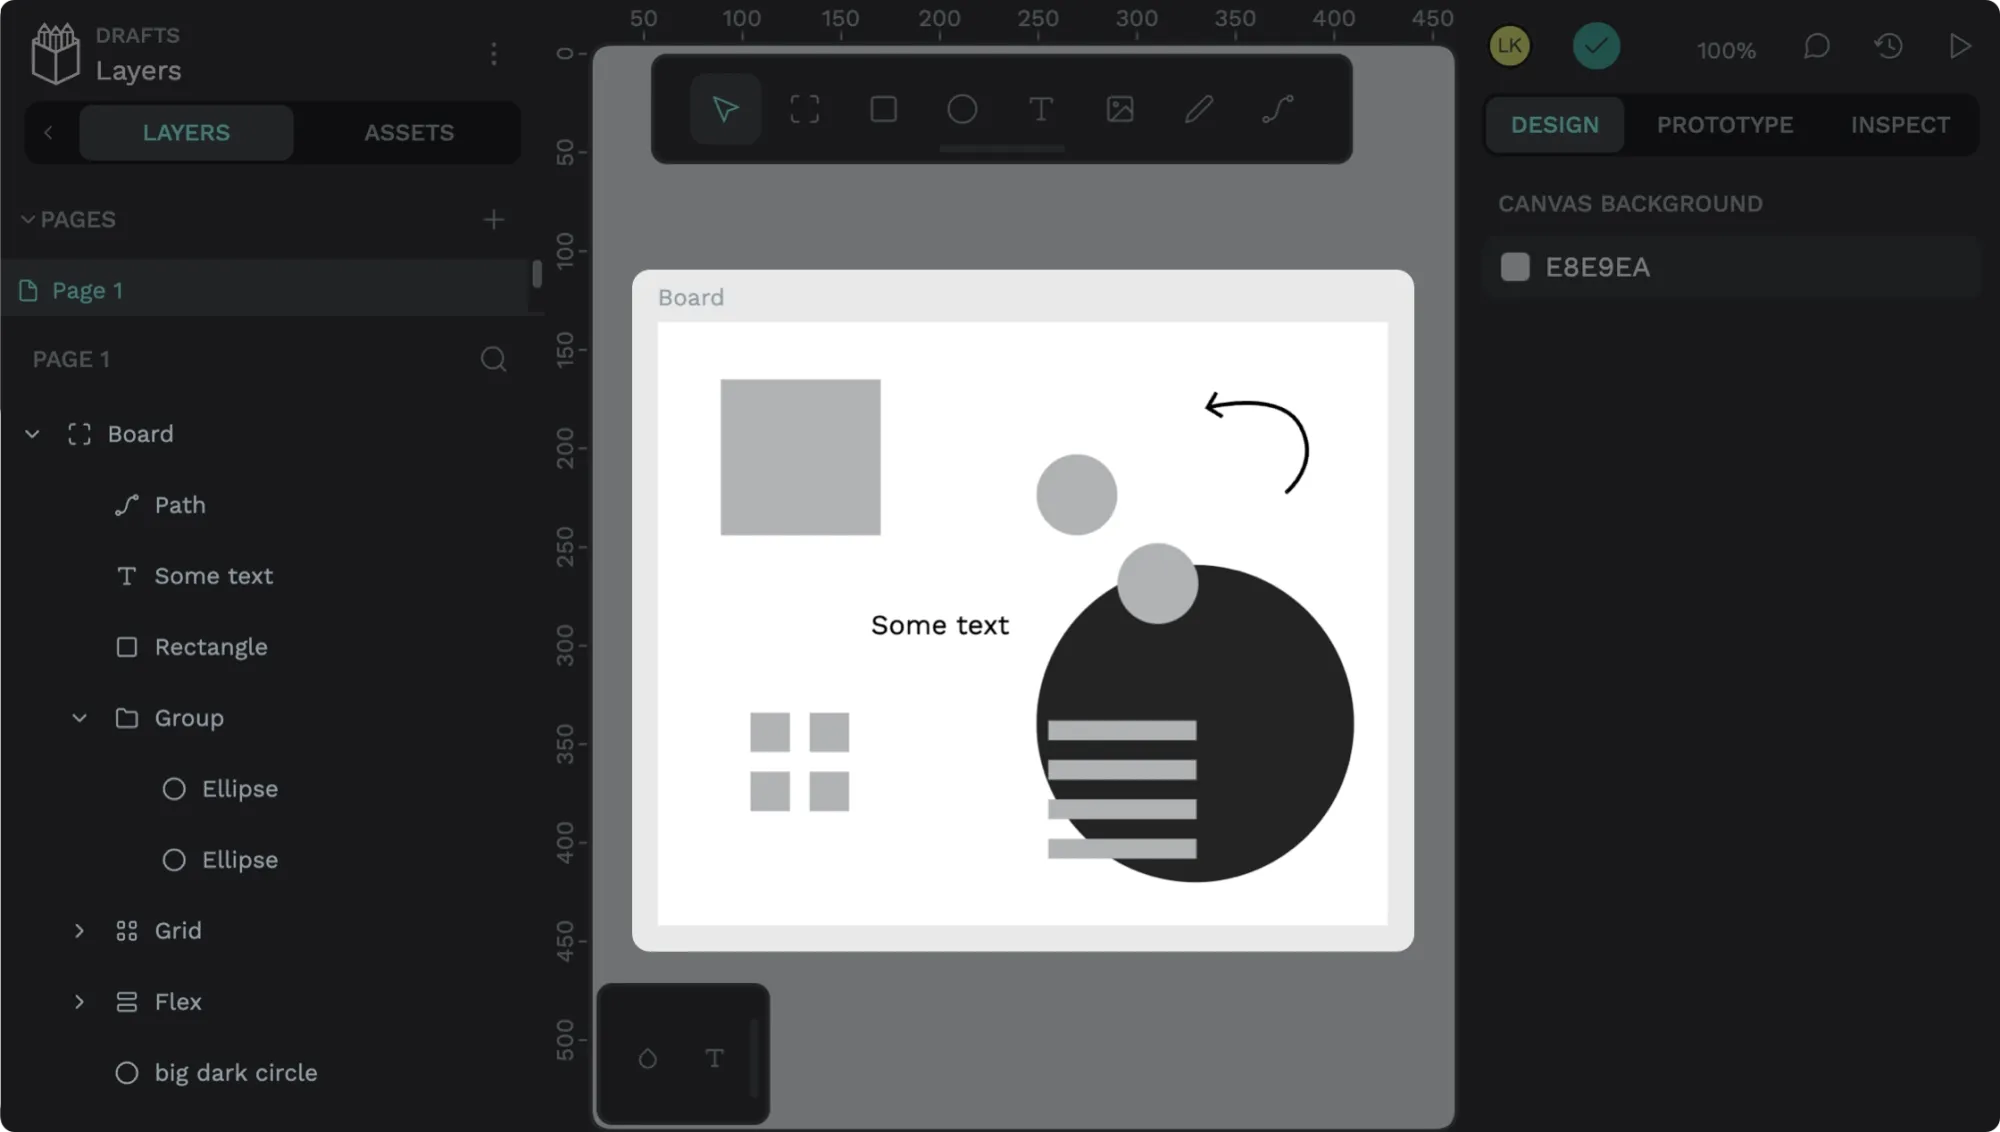
5: Navigating layers
Each element on the canvas has its own layer in the Layers panel list in the left sidebar. Layers further down the list are shown behind layers further up the Layers list on the canvas. By default, new layers are named after their object type, and the icon alongside the layer represents its type. You can rename a layer to give it a more descriptive name.
You can group layers. A layer group has a chevron icon, which you can use to expand and collapse the group.
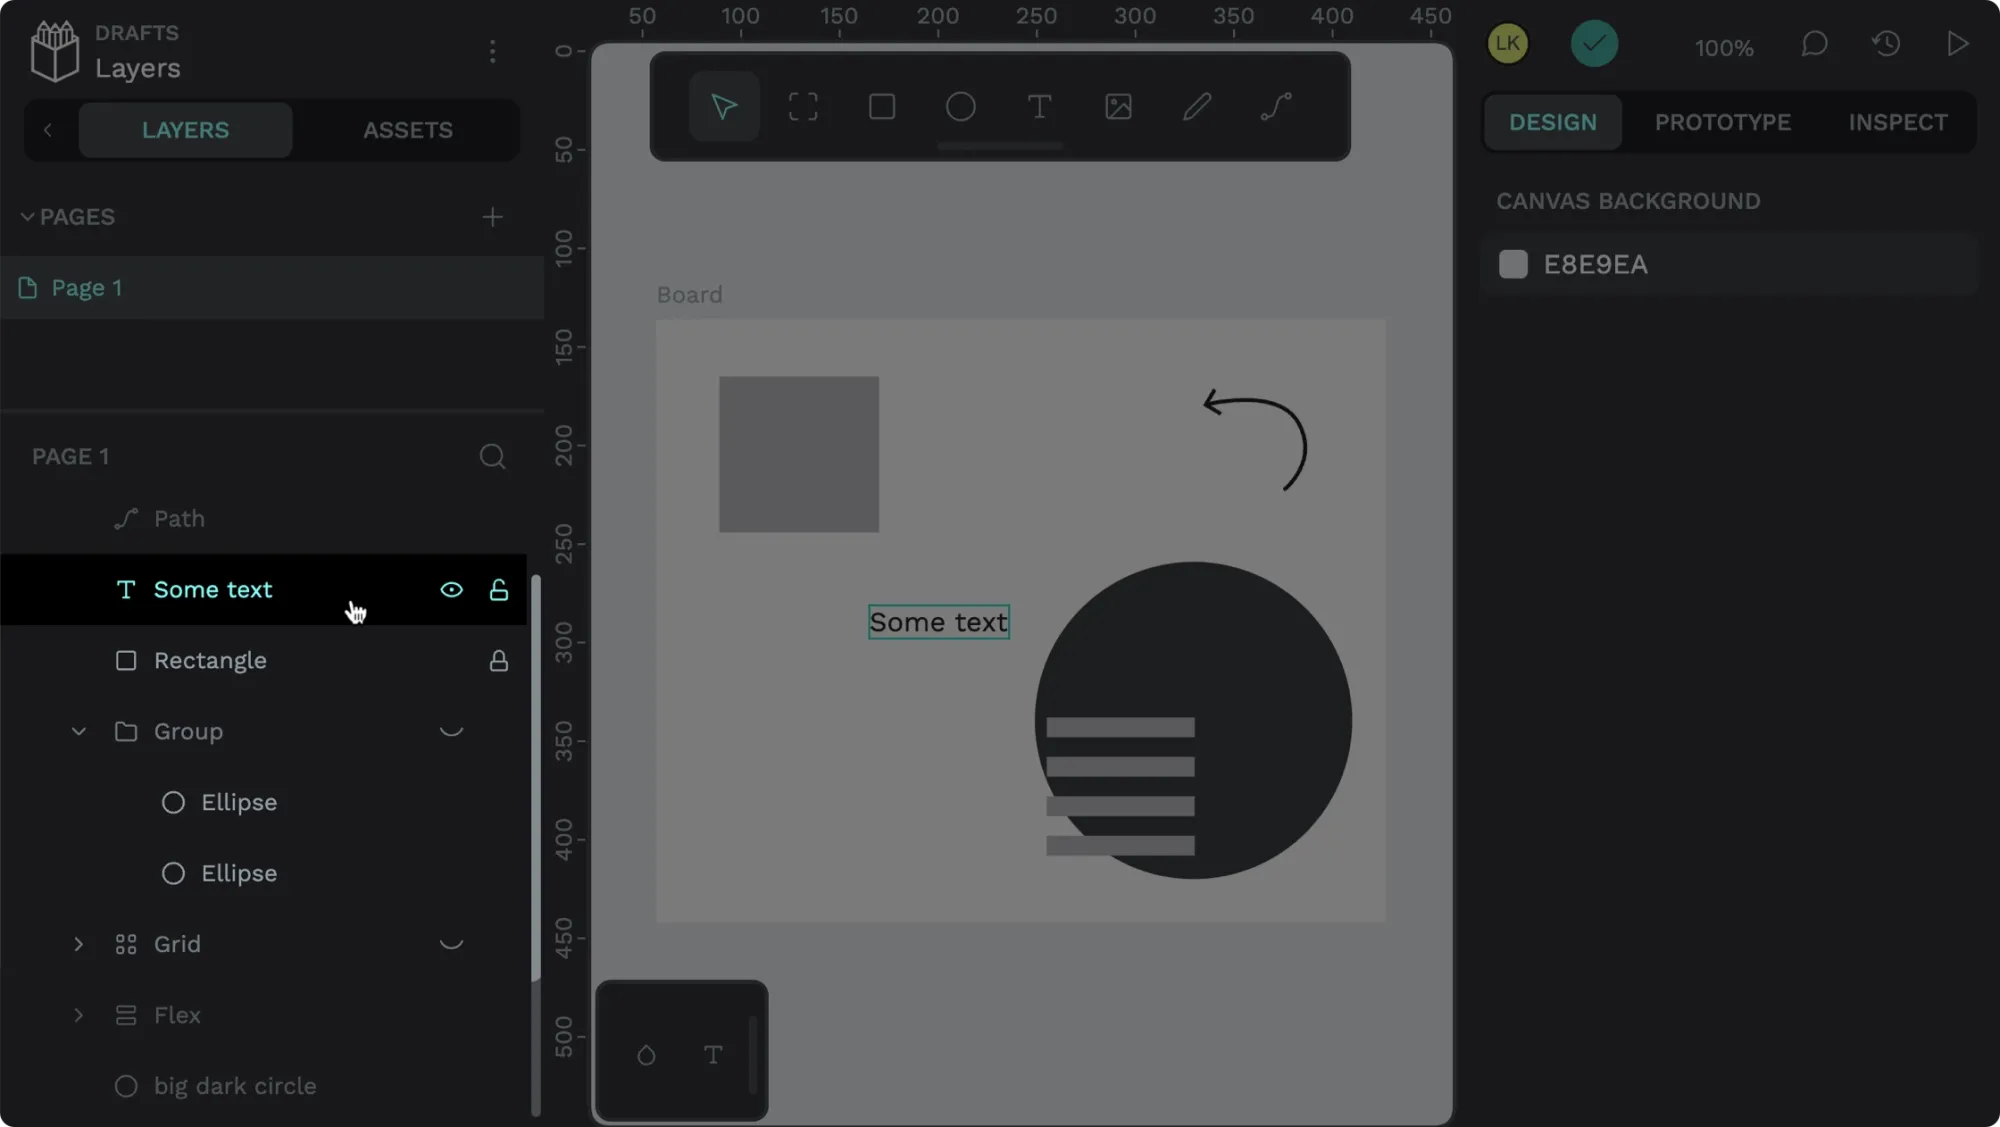
You can also hide and lock layers. Hidden layers are dimmed in the layers list, and a closed-eye semi-circle icon is alongside them. Locked layers have a padlock icon alongside. When you right-click or hover over a layer’s name, you can choose from options to hide or lock a layer.
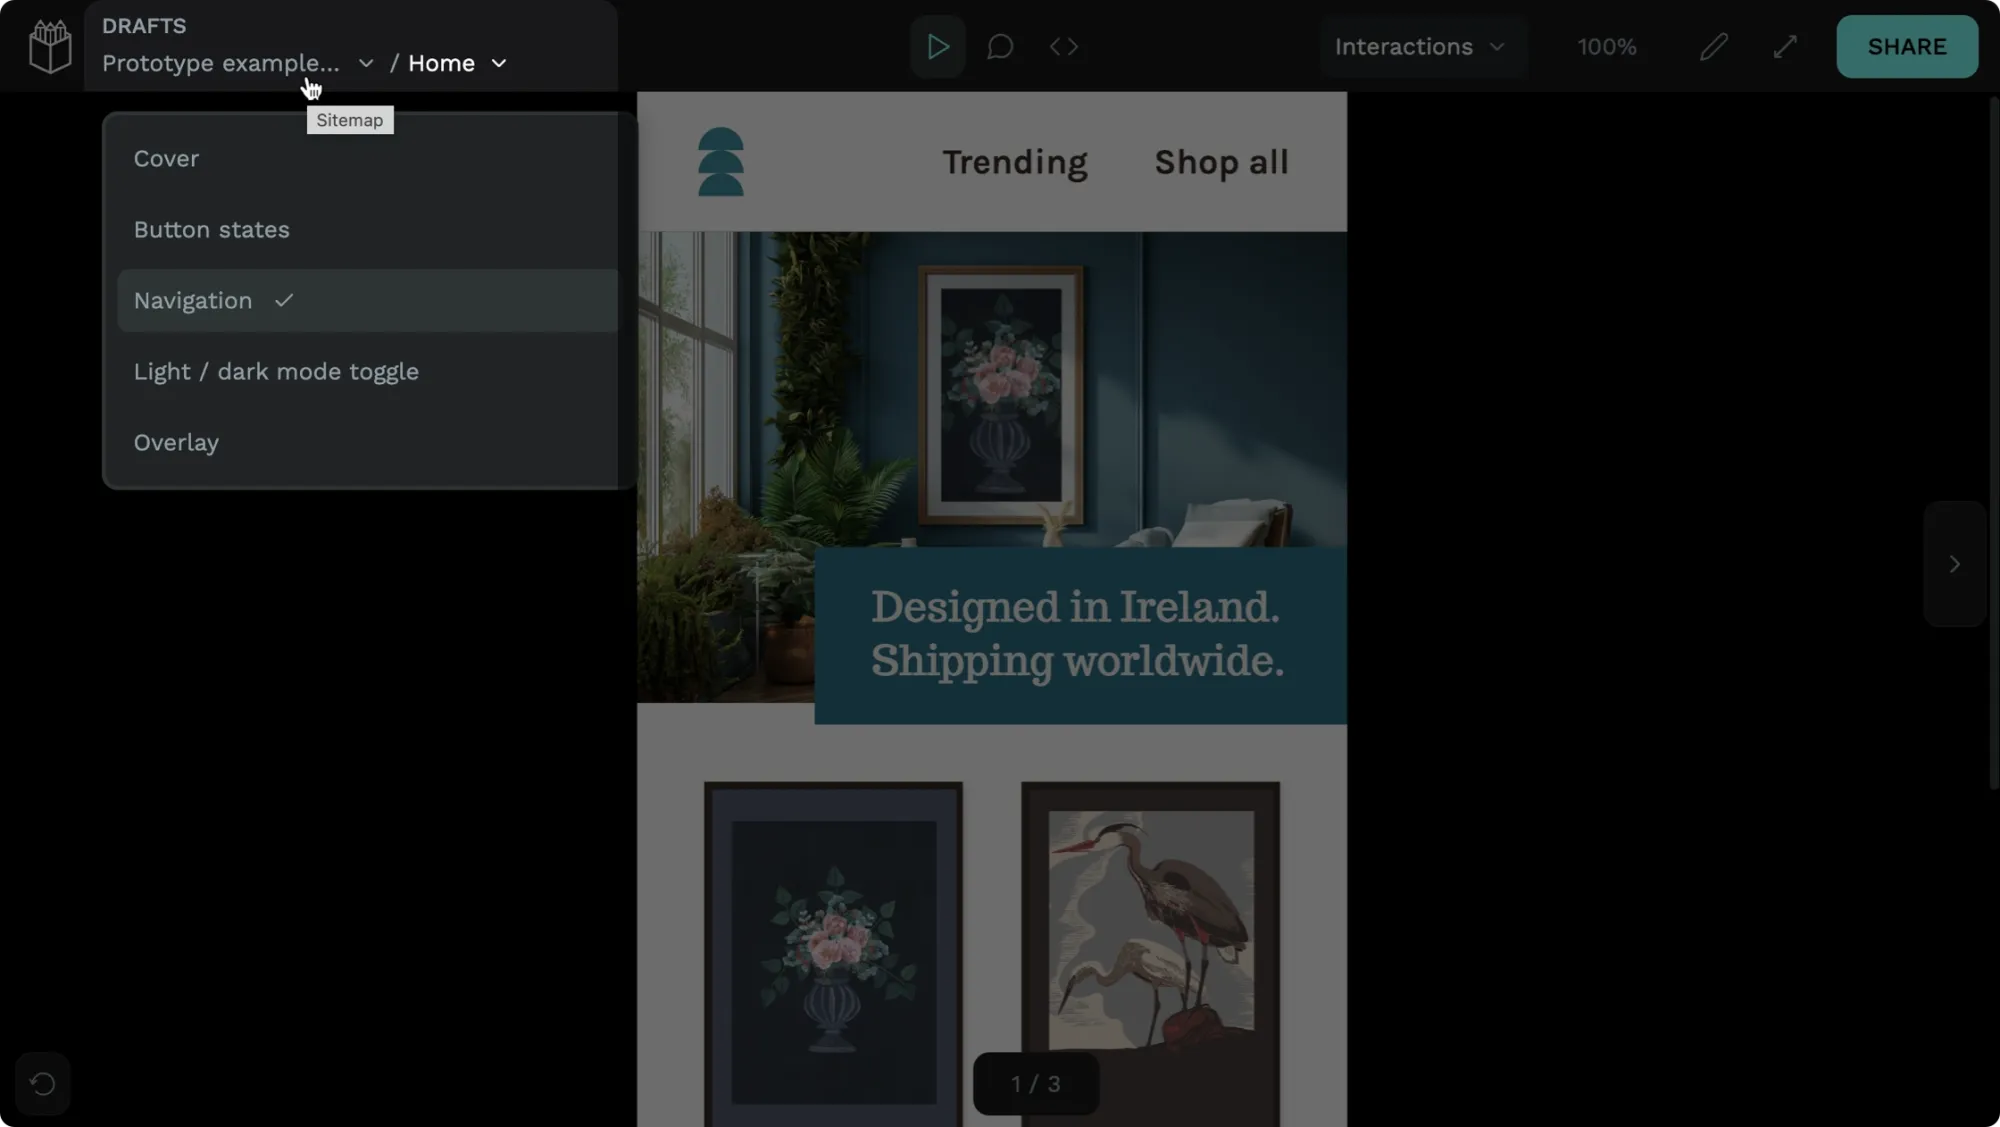
6: View mode
View mode is the easiest way to access the work in a file when you don’t need to edit it. You can also play through prototypes in View mode—launch view mode from the play button at the top of the right sidebar.

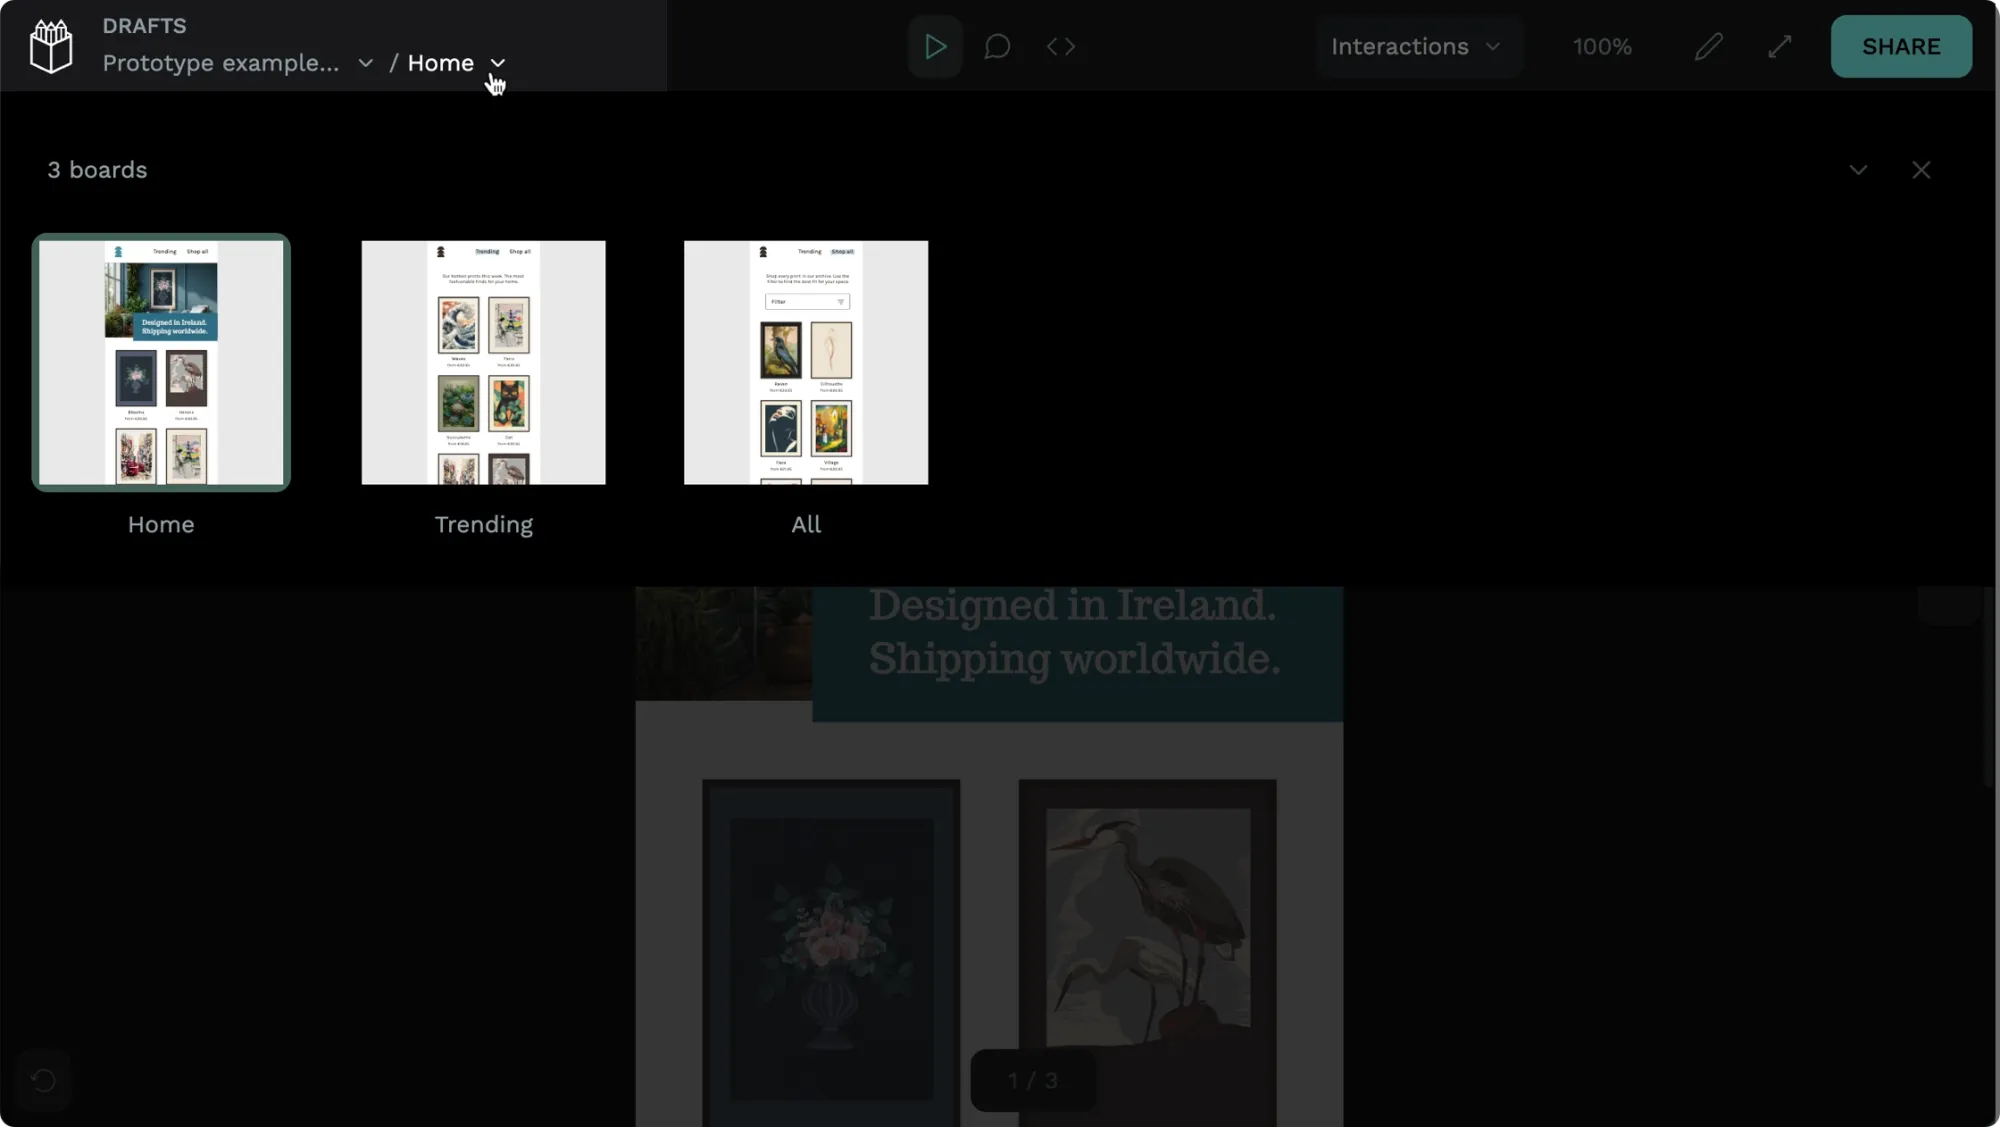
In View mode, you can click the file name to launch the Pages menu and switch between pages.
You can also click the board name to open the board navigator, which shows previews of the boards on the currently selected page. Click another board to view it.
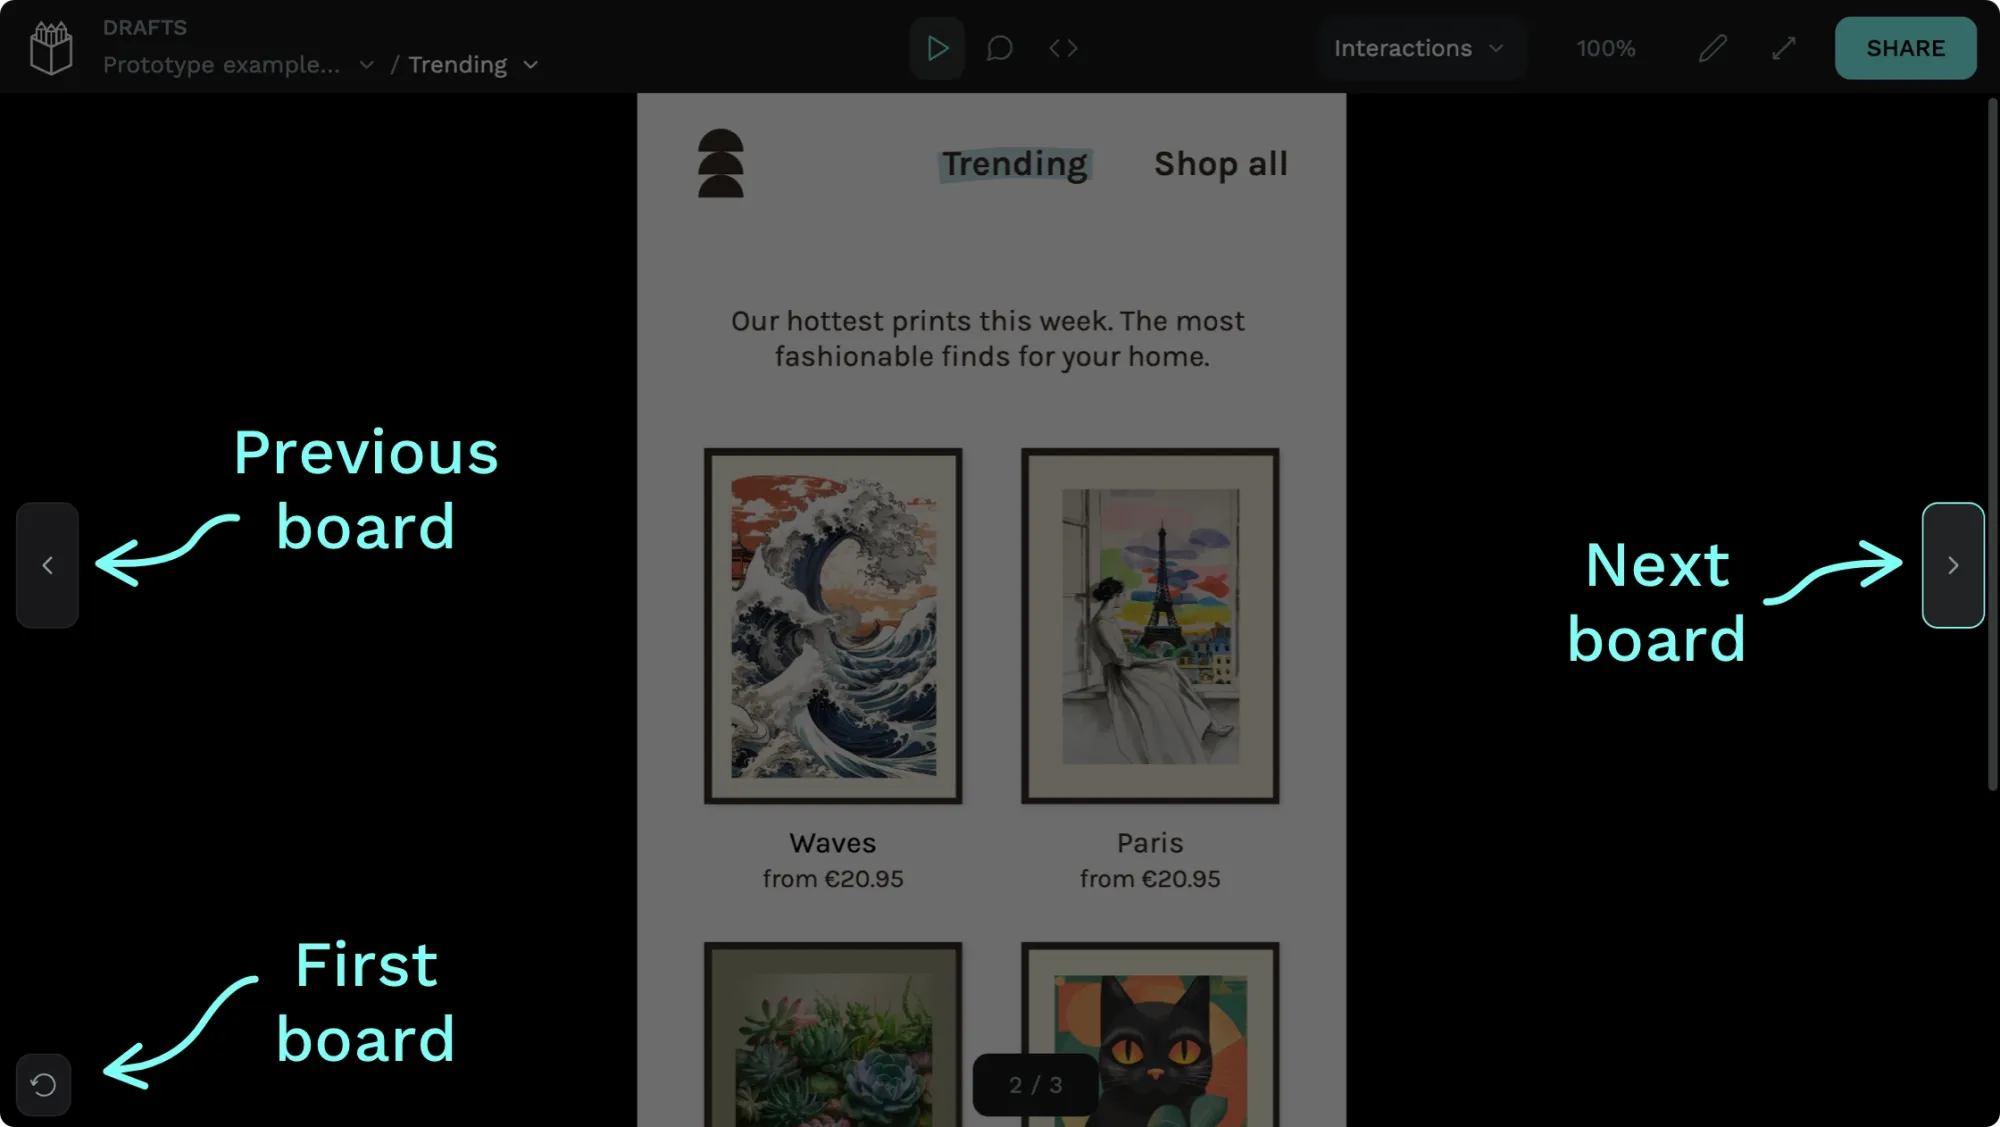
You can also navigate between boards on the currently selected page using the previous and next arrows to the left and right of the board. Pressing the Reset arrow icon button returns you to the first board on the page.
Collaborate with your team and share for free with Penpot
Now that you know how to navigate a Penpot file, you can add comments, share prototype links, and inspect the designs to check out the code.
Penpot is the ideal design tool for teams as it’s free for everyone, no matter how many designers and developers you have on your team. You can have unlimited seats; sign up for free today.
If you need further support, you can find detailed information in our Penpot User Guide and request help in our Community space.
Related Blogs
Check out our other blogs, from informative topic guides to tutorials on how to get the most out of Penpot.
 Laura Kalbag
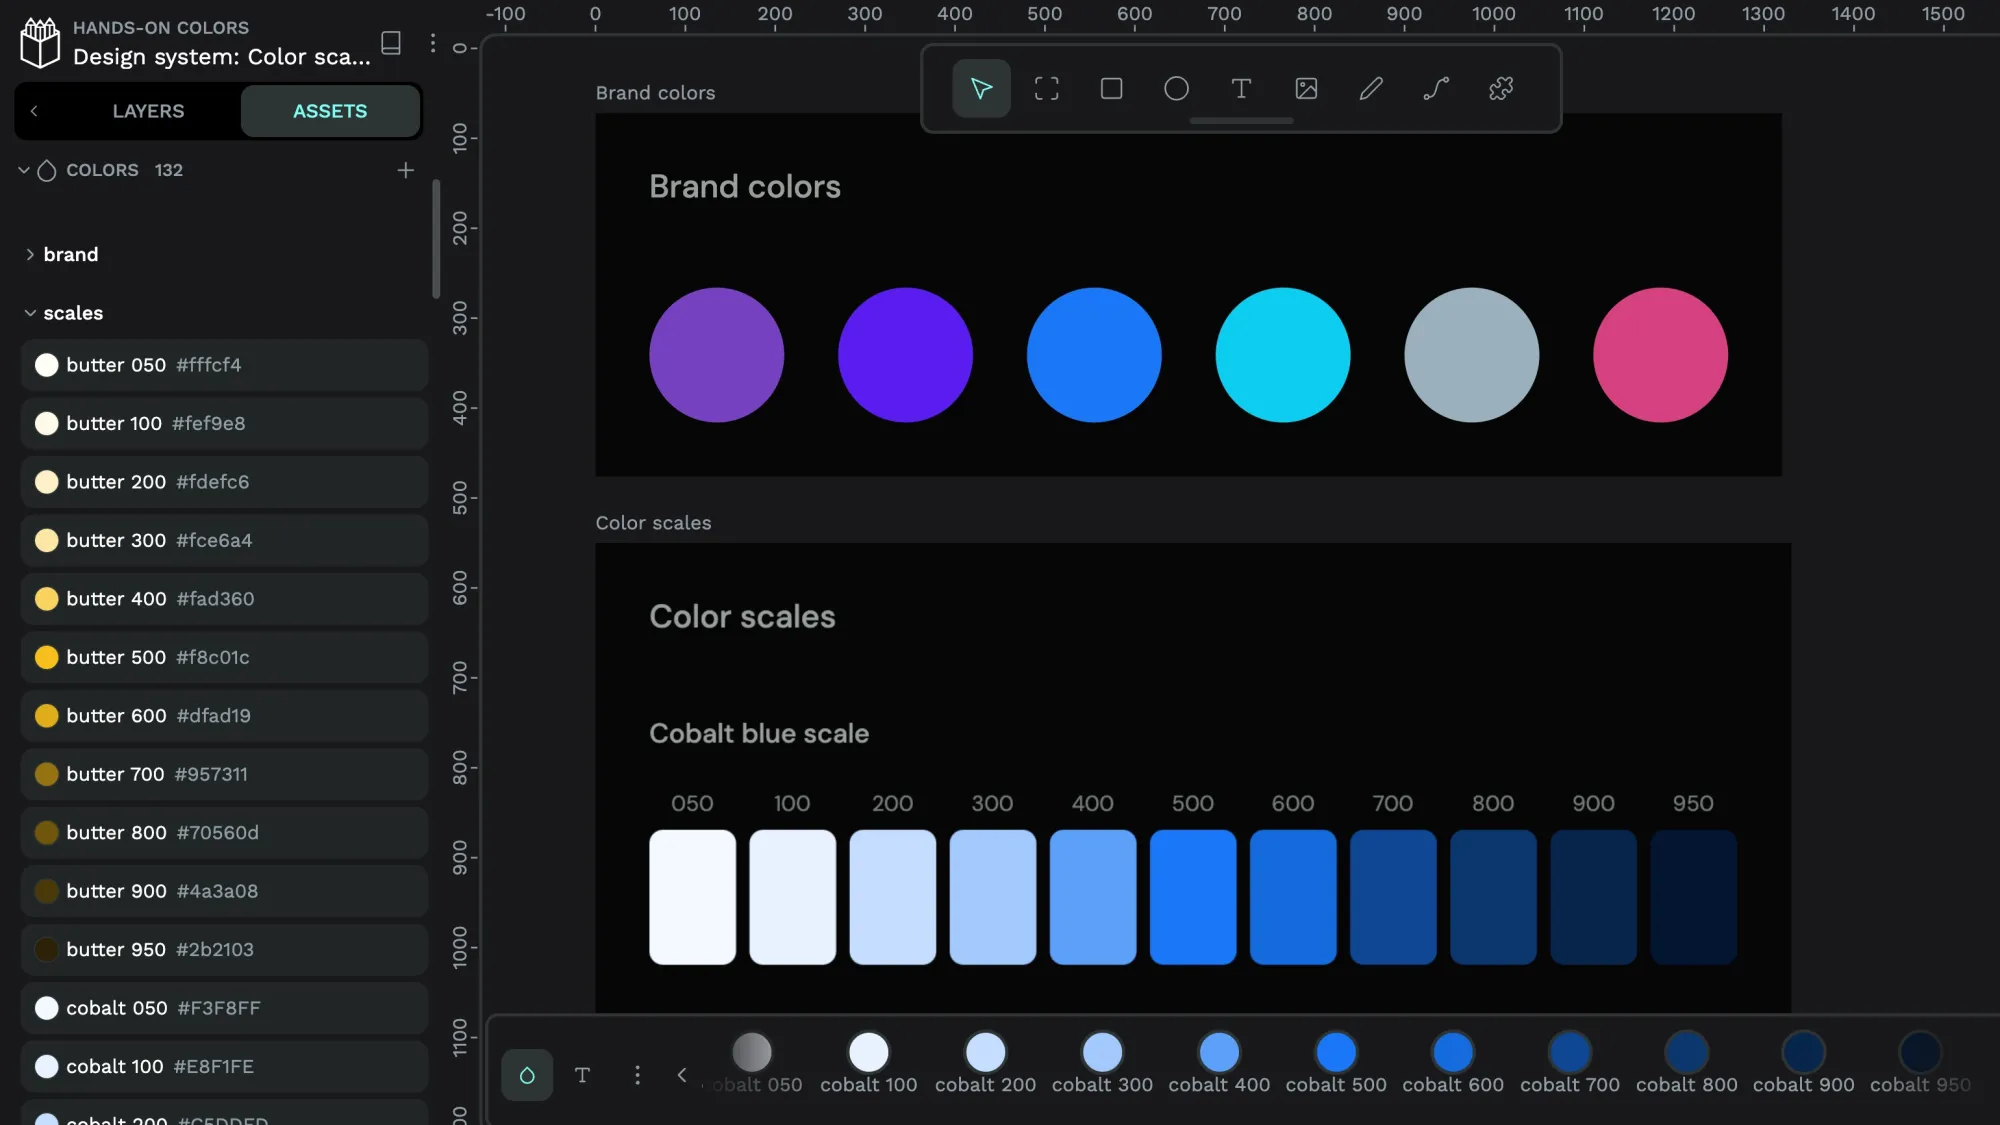 Laura Kalbag
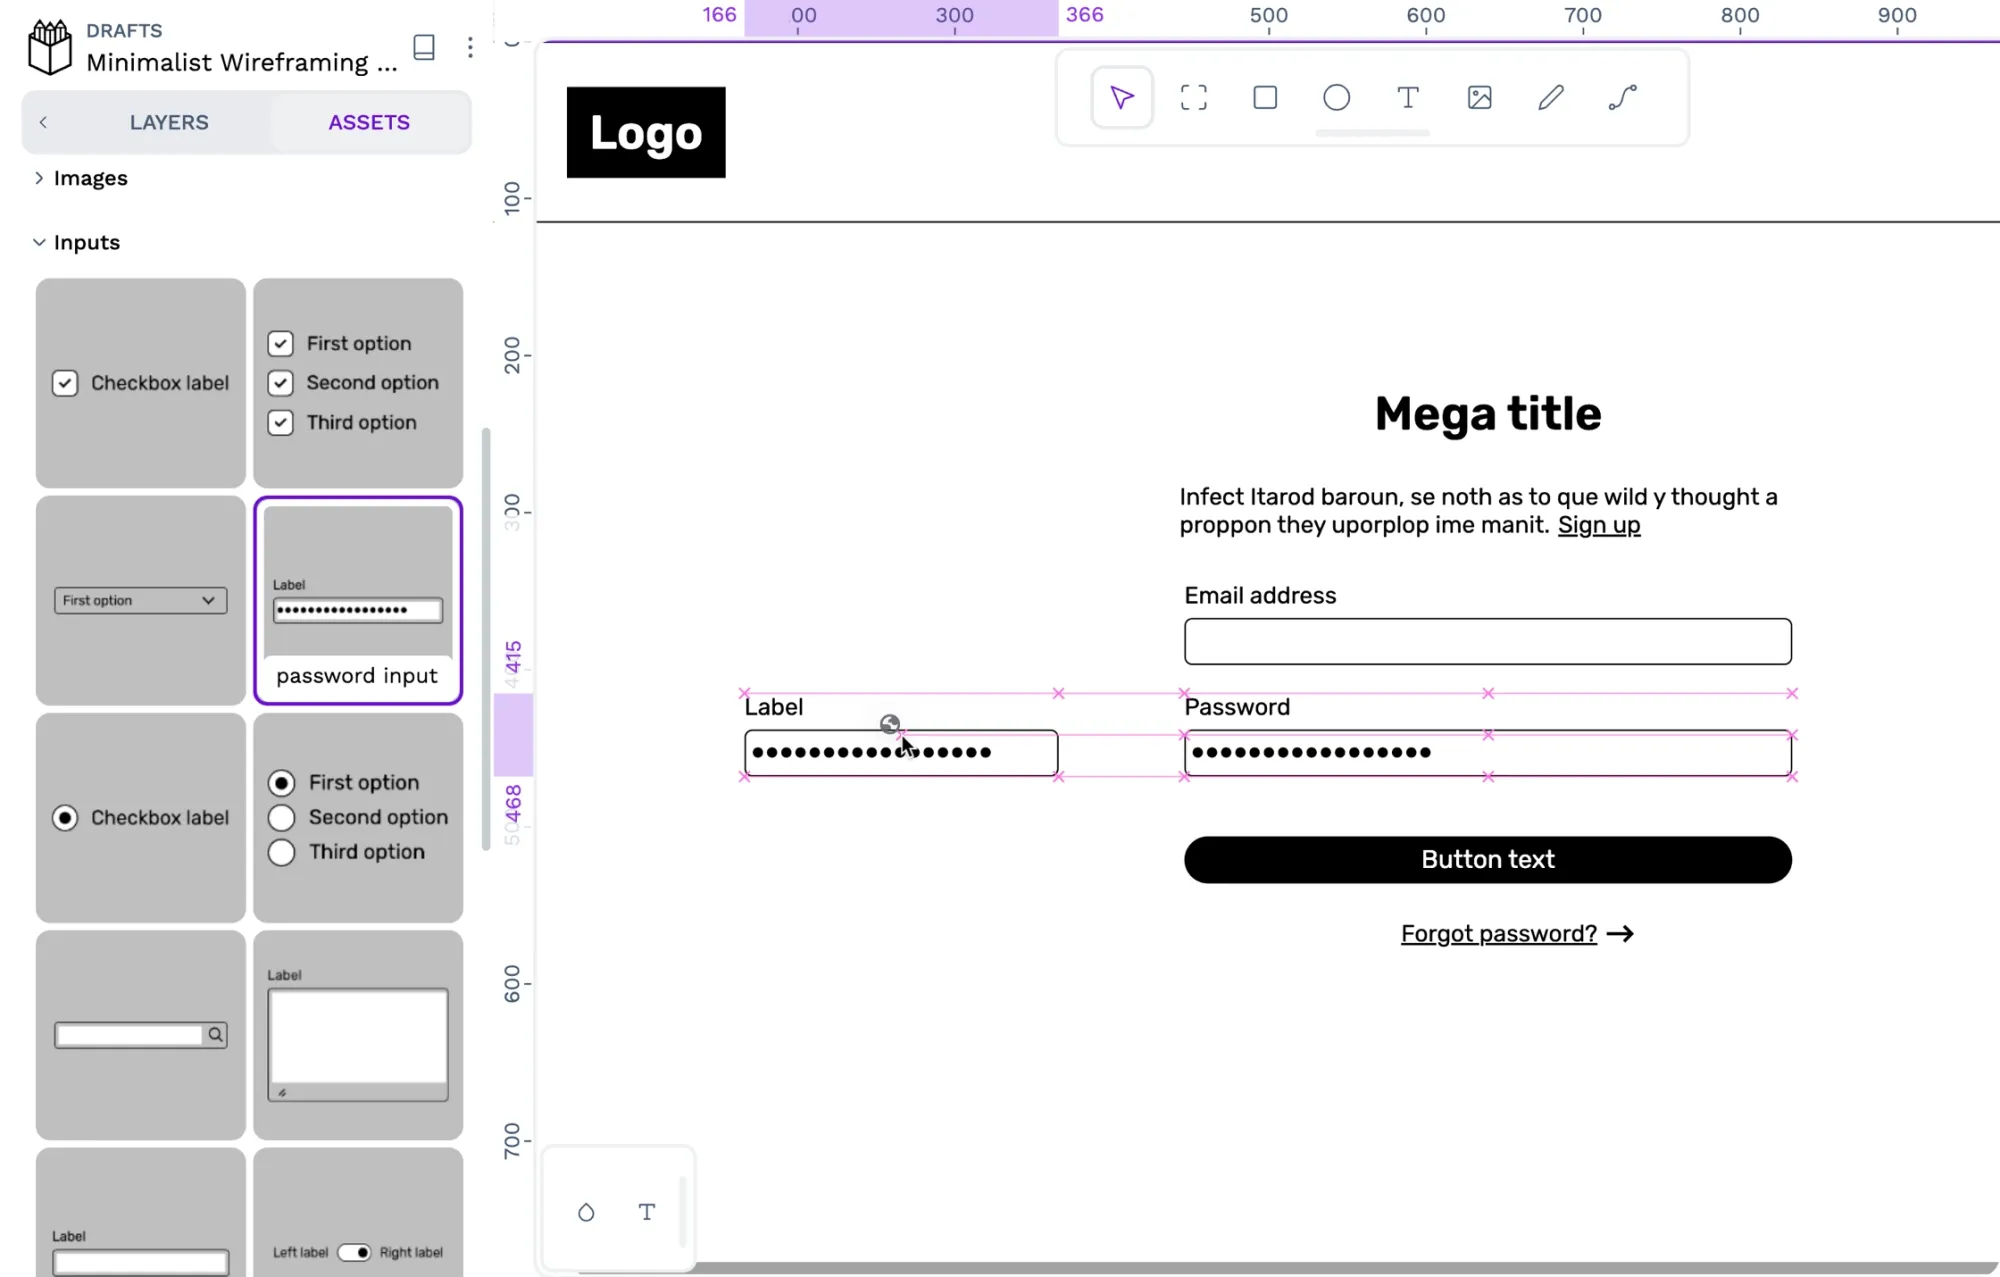 Laura Kalbag
 Laura Kalbag