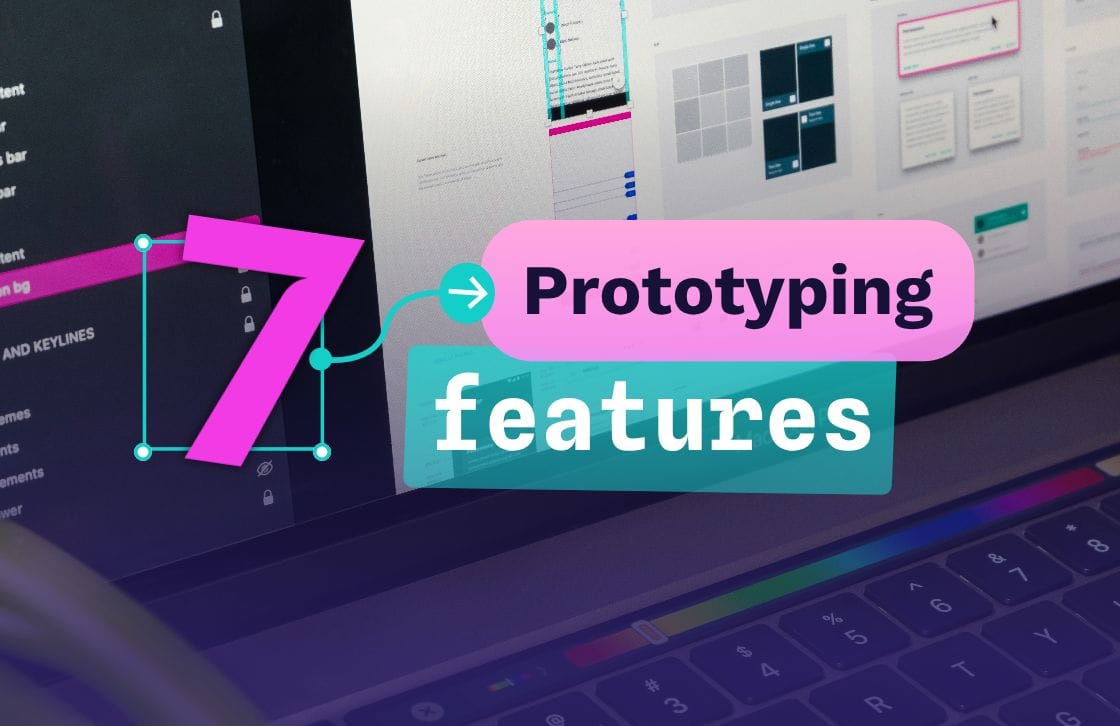
7 Penpot prototyping features to bring your next project to life
Prototypes are essential in any major build, but their role has evolved. Today they go beyond visual mockups, helping teams catch issues early, test connections, validate assumptions with real data, and keep designers, developers, and stakeholders aligned.

Prototypes are an essential part of any big build—but their role has evolved. Today's prototypes are more than visual mockups. They help you catch issues early, test how everything connects, validate assumptions with real data, and keep everyone—designers, developers, and stakeholders—on the same page.
But all of that depends on the strength of your prototype.
If you're not using the right prototyping tool, it's easy to miss critical feedback, confuse reviewers, or stall collaboration. Worse, you might invest time in prototypes that look good but don't help your team make better decisions.
Penpot gives your team the tools to create prototypes that do more than just look good—they act as a shared source of truth that moves your work forward. A prototype made in Penpot can help you:
- Validate interaction flows and screen transitions before committing to development.
- Show functionality in context, not in isolation, with realistic user journeys.
- Get clearer, actionable feedback from teammates, testers, and stakeholders.
- Explore conditional paths, A/B flows, and real user scenarios with logic and variables.
- Test with realistic data to understand how your design performs in real-world conditions.
- Make your design development-ready with the Inspect tool for clean, accurate handoff.
- Measure what matters by tracking user behavior and validating design decisions with data.
Whether you're updating an existing prototype or starting from scratch, these seven features can help you design with more clarity and build with more confidence.
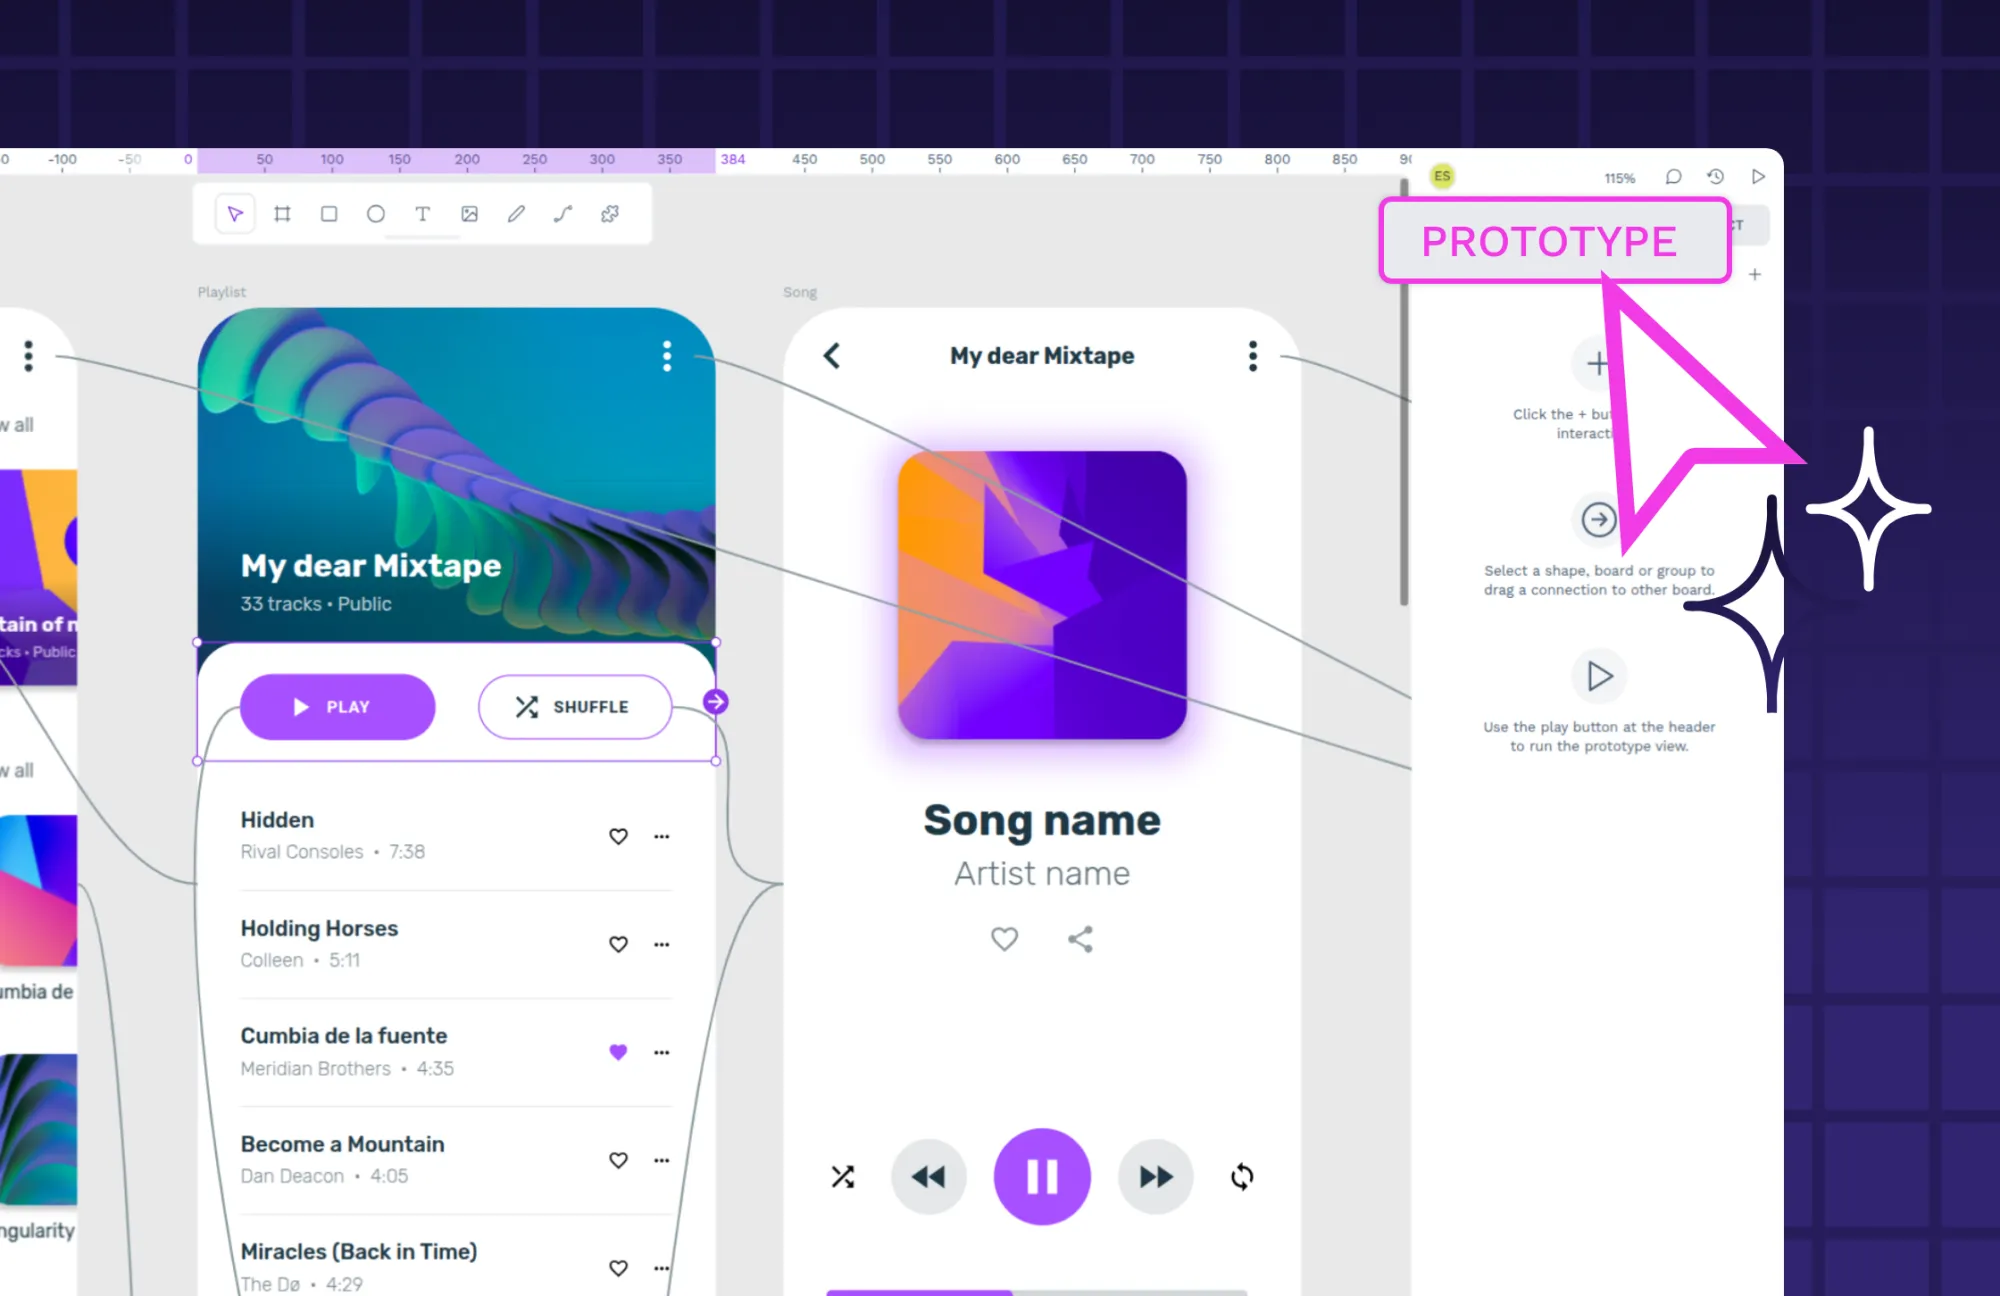
1. Interactive links between boards
Penpot’s “Navigate To” interaction lets you link any UI element on one board to a specific element on another board. This allows testers to click through the prototype as if it were the delivered product, making it easier to spot UX and UI issues.
How to create this feature:
- Create and name a board for each screen or page of your design (home page, shopping cart, etc.).
- Select any clickable element, add an interaction in the Prototype tab, and choose the target element on another board.
- Use View mode to test how the navigation works across screens.
For example, if you’re creating a food delivery app prototype, you would make a separate board for each food menu category (apps, main, sides, drinks). Then, add interactive links so that clicking each category navigates to the appropriate board and layout.
Ideally, every element a user is expected to interact with should have a working link. This makes the prototype more realistic and helps you catch issues and make improvements before anything goes live.
2. Animation controls for smoother transitions
To take your transitions one step further, consider animations that help boards look fully interactive. An animation is a visual movement or transition applied to UI elements when switching between states, screens, or components within a prototype or interactive design.
Animations can include sliding panels, fading between views, expanding menus, or bouncing buttons — essentially, any effect that makes a digital object appear to move or change over time.
In prototyping tools like Penpot, animation parameters commonly include:
- Type (e.g., dissolve/fade, slide, push)
- Duration (how long the animation lasts, typically measured in milliseconds)
- Easing (the speed curve, such as linear, ease-in, ease-out)
These settings enable designers to mimic how the final product might behave. For example, when a user taps “Next” on a mobile onboarding screen, you can set the animation to "Slide In Right" with a 300ms duration and "Ease-In-Out" easing. This way, the new screen glides in smoothly, just like a real app.
Penpot supports animation settings that make your prototypes feel even more realistic. But in a basic prototype without animations, moving between screens or states often happens instantly, meaning elements, pages, or dialogs appear or disappear with no visual transition. Animations reduce this abruptness, which can take testers out of the experience and lead to distractions.
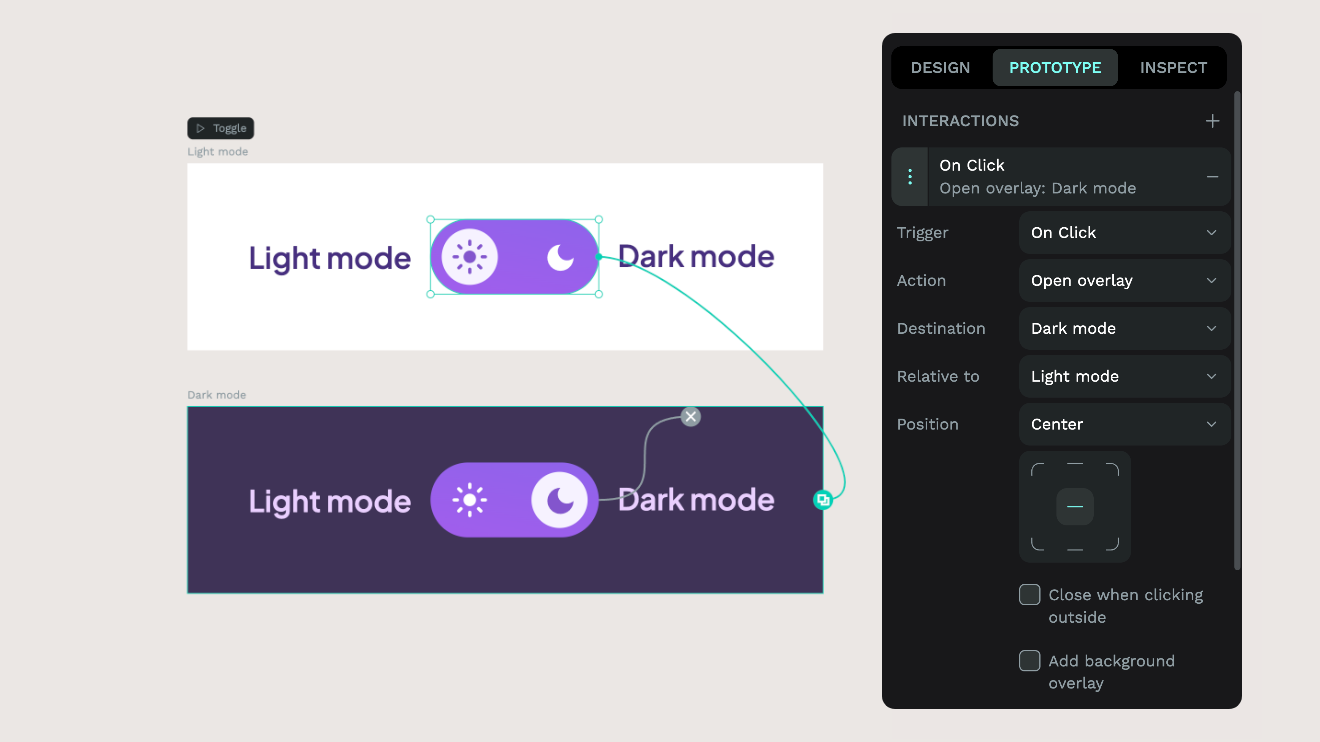
3. Overlay support for layered interfaces
Overlays are visual layers that appear on top of a board. They can look like menus that slide down, pop-up dialogues, tooltips, or contextual panels. They simulate how users interact with more complex interfaces—especially in instances where they wouldn't want to navigate away from their current page or lose context.
Apps, in particular, use overlays often. Incorporating them into your prototype creates a more realistic experience and helps you test micro-interactions that are critical to usability.
In Penpot, overlays are created by designing an additional board (a separate area with your overlay content). When you set up an interaction (like “On Click” for a button), you can choose to “Open Overlay” and position that overlay relative to the current board — allowing it to appear as a visual layer on top of your design.
One example is to create a mock shopping page with an “Add to Cart” overlay that appears when you click. This lets the user see what their cart looks like without forcing them to jump to a completely new board.
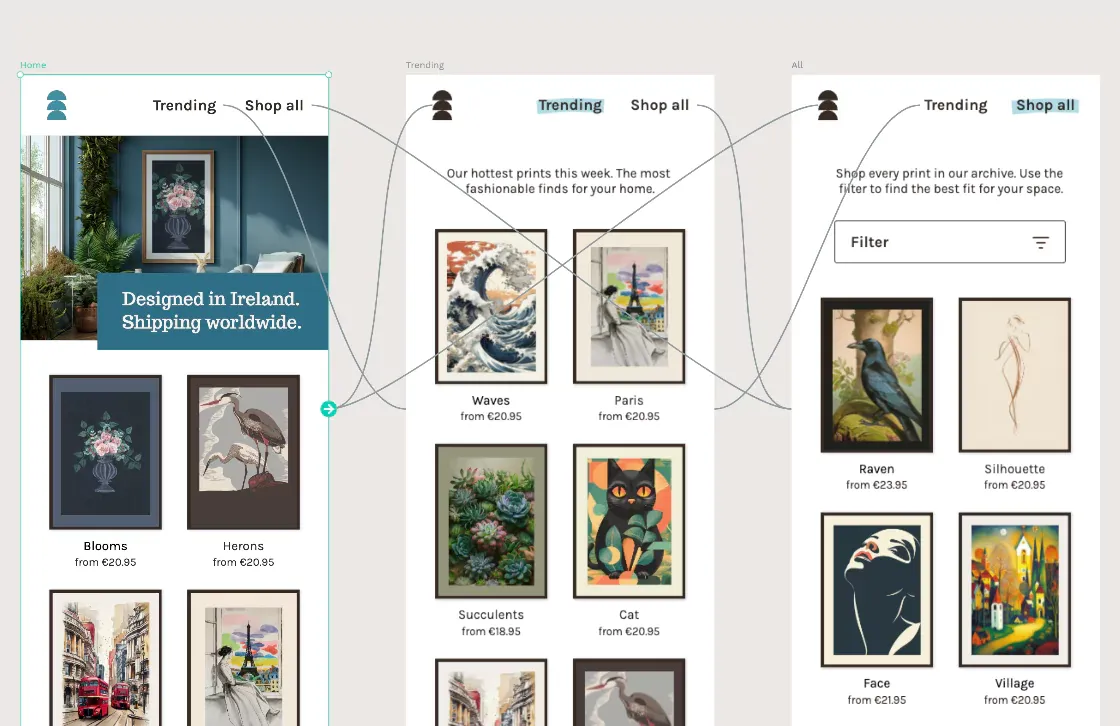
4. Flow management for multi-entry journeys
Flows are customizable starting points that guide users through various scenarios in your prototype. Each flow acts as a different entry point, allowing users to essentially “choose their own adventure” and move through the prototype along intentional paths.
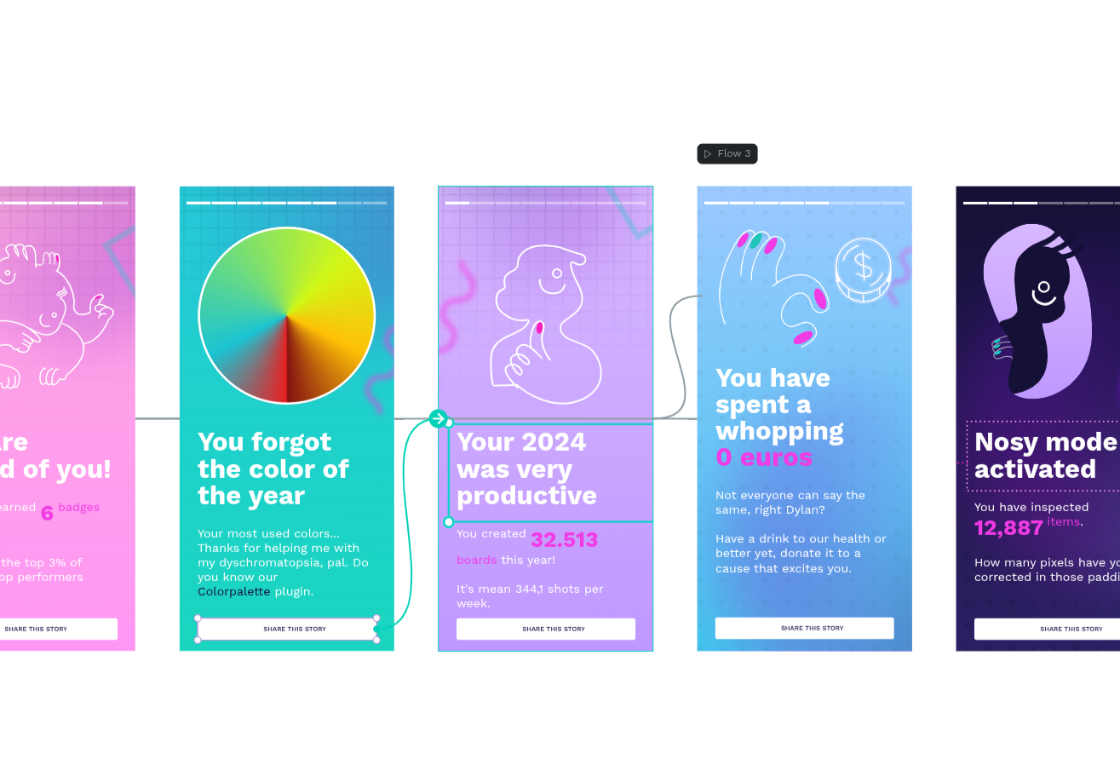
Penpot enables this feature when you create various boards (screens) as individual entry points. Once flows are defined, Penpot automatically displays a flow selector in View mode, allowing anyone reviewing your prototype to pick the relevant scenario and start at its intended beginning.
Flows help you assess the usability and functionality of your product based on different user personas, such as a guest versus a logged-in member. You can also set up alternate task flows for comparison, like a simplified checkout vs. a more detailed one.
For example, you could create one flow in your prototype that begins as a guest user navigating from the home page to browse products, and another flow that starts as a logged-in member, showing access to account features and personalized recommendations. You might also create two versions of a checkout process — one as a single page and one as a multi-step experience — to compare design approaches with your team or stakeholders.
5. Scroll simulation with fixed elements
The scroll simulation in Penpot refers to setting up content to look like it scrolls within a design, such as lists, feeds, or long forms, by fixing certain elements in place while allowing the rest of the board to move. Penpot supports prototyping to mimic how users drag or scroll to see more content within a site or app.
You experience scrolling when moving down a social media feed, going through a long form to find the “submit” button at the bottom, or keeping the table of contents bar fixed for reference while reading a lengthy blog post. Penpot makes it easy to visually simulate these scrollable layouts by allowing you to fix key elements in place. Simulating these fixed elements in prototypes helps designers evaluate how users naturally interact with content, so they can make sure navigation buttons or actions remain visible and accessible.
To make any element sticky in Penpot, just select it and check the “Fix when scrolling” option from the Constraints section in the Design sidebar.
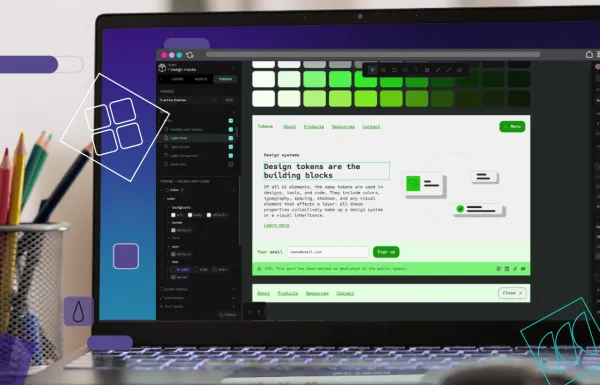
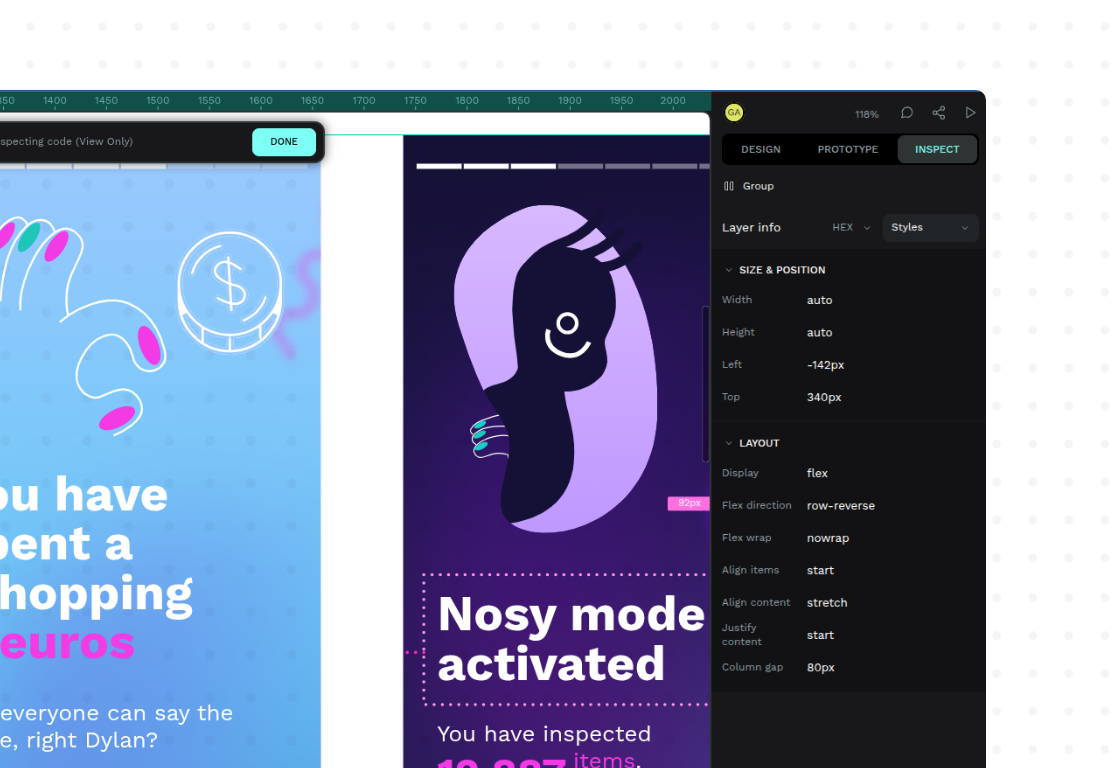
6. Shareable prototypes with comments and inspect mode
Prototyping features also matter when it’s time to turn your prototype into an app or site. Penpot’s Inspect mode is designed to bridge the gap between design and development, making prototypes more actionable and collaborative.
Accessible in both Workspace and View modes, Inspect provides a safe, view-only environment where anyone (especially developers) can examine designs without fear of accidental changes. This feature lets you measure distances, review object properties, check styles, and export assets, ensuring every design detail is clear and ready for handoff.
It also offers developer-friendly code snippets. Just select a UI element to see code snippets for CSS, HTML, and SVG, as well as export assets in designer-defined formats.
Inspect also works in tandem with the commenting features, which give anyone a simple way to ask questions, add clarifying notes, and propose changes from within the design boards. This is helpful because it keeps all feedback and technical details in one place, making collaboration between designers, developers, and stakeholders faster, clearer, and more efficient.
7. Developer-friendly output using real layout standards
In addition to seeing CSS and HTML details through the Inspect tab, developers can use Penpot to view real layout properties like grid and flex directly in Inspect. To do this, simply select a grid or flex container to explore its properties, alignment settings, and other details without manually translating design intent into code.
You can also export assets (such as icons or logos) as SVGs for clean, resolution-independent graphics ready for use on the web. This helps preserve the integrity of a project from ideation to execution with fewer translation issues.
Penpot files are open-source and free, so you’re not locked into a vendor subscription service to view or use them.
Try prototyping in Penpot today
Penpot empowers you with a complete, professional prototyping toolkit — at no cost. Choose to use the web-based format to collaborate with distributed teams or use an offline version with a self-hosting solution for more secure use cases.
Looking for advice on how to create your first prototype?
- Our prototyping video walk-through shows the tool in action.
- This beginning prototyping guide gets you through the basics quickly.
- We’ve even created a tutorial with expert prototyping tips.
- Get inspiration with these boards, flows, and prototype templates.
Sign up today and start prototyping more realistic renderings of your project with fewer restrictions.
FAQs
What are interactive links, and why are they important in prototypes?
Interactive links connect different screens or boards in your design, letting users click through a flow like they would in a real application. This helps test navigation logic and demonstrates how users move through your product. Without them, you would be stuck using separate boards (representing screens) with no simple way to move between them.
What’s the difference between low and high-fidelity prototypes?
Low-fidelity prototypes are simple, often made with sketches or wireframes, and used for quick validation of concepts and flows. They're ideal for early-stage ideation and getting broad feedback. High-fidelity prototypes are going to look a lot more like the final product in design, interactivity, and detail, making them better for refined usability testing and stakeholder demonstrations. The right fidelity depends on your goal and where you are in the design process. Use low-fi for brainstorming and hi-fi for realistic feedback.
How do I decide which prototyping tools or methods to use?
Consider your project needs, goals, the audience for your prototype, and your team’s familiarity with different tools. For rapid validation and interactive flows, a tool like Penpot is excellent because it supports visual, interactive, and collaborative features without requiring code. If you’re looking for quick paper sketches or clickable wireframes, sometimes analog methods or lighter tools are better choices.
Why is it important to start prototyping early?
Starting early enables teams to quickly visualize ideas, test multiple directions, and uncover usability issues before investing heavily in design or development. Early prototypes drive more productive feedback from stakeholders and users, setting a strong foundation for user-centered design.
Related Blogs
We have loads more posts about prototyping. Here’s a few examples of helpful articles to help you learn more.