Transform Your Designs Into Code With Penpot
Used for everything from mobile apps to e-commerce sites, the design-to-code approach has helped teams turn out fantastic work in less time.

What turns great ideas into something tangible that customers will rave about? Great code. Fortunately, even those without a lot of coding experience can get a head start on their next project with the “design-to-code” capabilities in Penpot.
Used for everything from mobile apps to e-commerce sites, the design-to-code approach has helped teams turn out fantastic work in less time. Learn how you can take advantage of it for your next big idea.
What does design-to-code mean?
Design-to-code is the process of taking UI designs and making them into coded products. This can be done manually with a team of designers and developers working together to create everything from scratch. It could also happen through an automated tool that creates code from design files.
The design-to-code concept can go by different names. If you hear someone refer to engineering handoff, developer handoff, or design handoff, they are likely talking about the design-to-code process.
What does design-to-code do?
Design-to-code tools can extract the fonts, styles, and other assets from design files for easy reference later. Some solutions even use AI to generate complete code from the prototypes. However, developers still need to put it all together, test it, and fix the code to ensure it functions as designed.
Here are some of the benefits design-to-code solutions offer:
- Freedom to experiment with different traits, colors, and effects in the initial stages of design.
- Time saved by being able to inspect, extract, and save specs from designs for developers to work with later.
- Improved quality, thanks to the consistency of coding standards and conventions used early on in the design and development process.
- Flexibility to use new languages and frameworks as needed; many of the design-to-code tools available today are available for a variety of programming languages.

With Penpot specifically, you get all of these benefits plus some additional advantages:
- Create a web page with only minor editing by copying and pasting the generated HTML code into a code editor.
- Layouts work exactly the same in the tool as in the browser so it’s easier for to make changes and get a sense of how they will look for your users.
- Generate CSS Flexbox and CSS Grid layouts quickly and easily for smoother design/development collaboration.
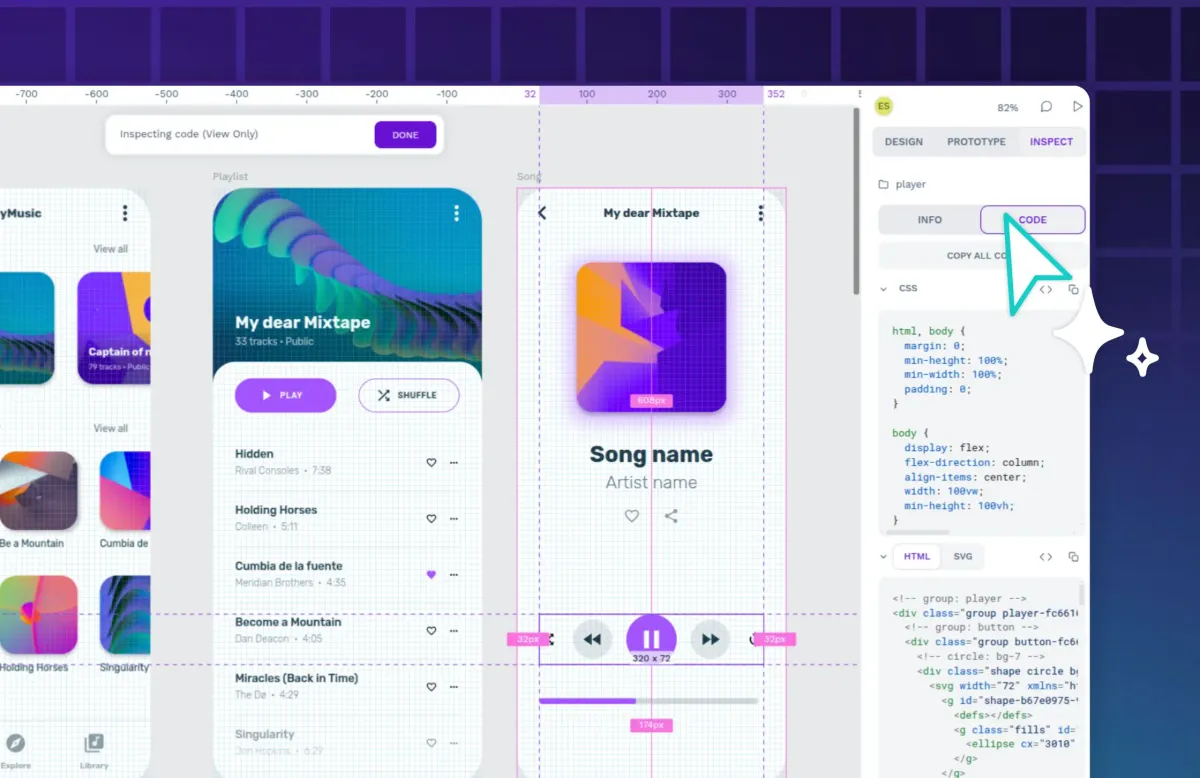
- Inspecting an element shows its CSS properties in a click-to-copy format.
- Automatically generates high quality HTML, CSS, and SVG code so developers won’t have to edit much.
Types of design-to-code tools
Companies that want to enhance their workflows with design-to-code tools can currently do so in one of two ways.
- Standalone tools that only do design-to-code and are independent from the rest of the workflow.
- Design platforms that bring in all of the teams for collaboration, wireframing, prototyping, coding, and deployment such as Penpot.
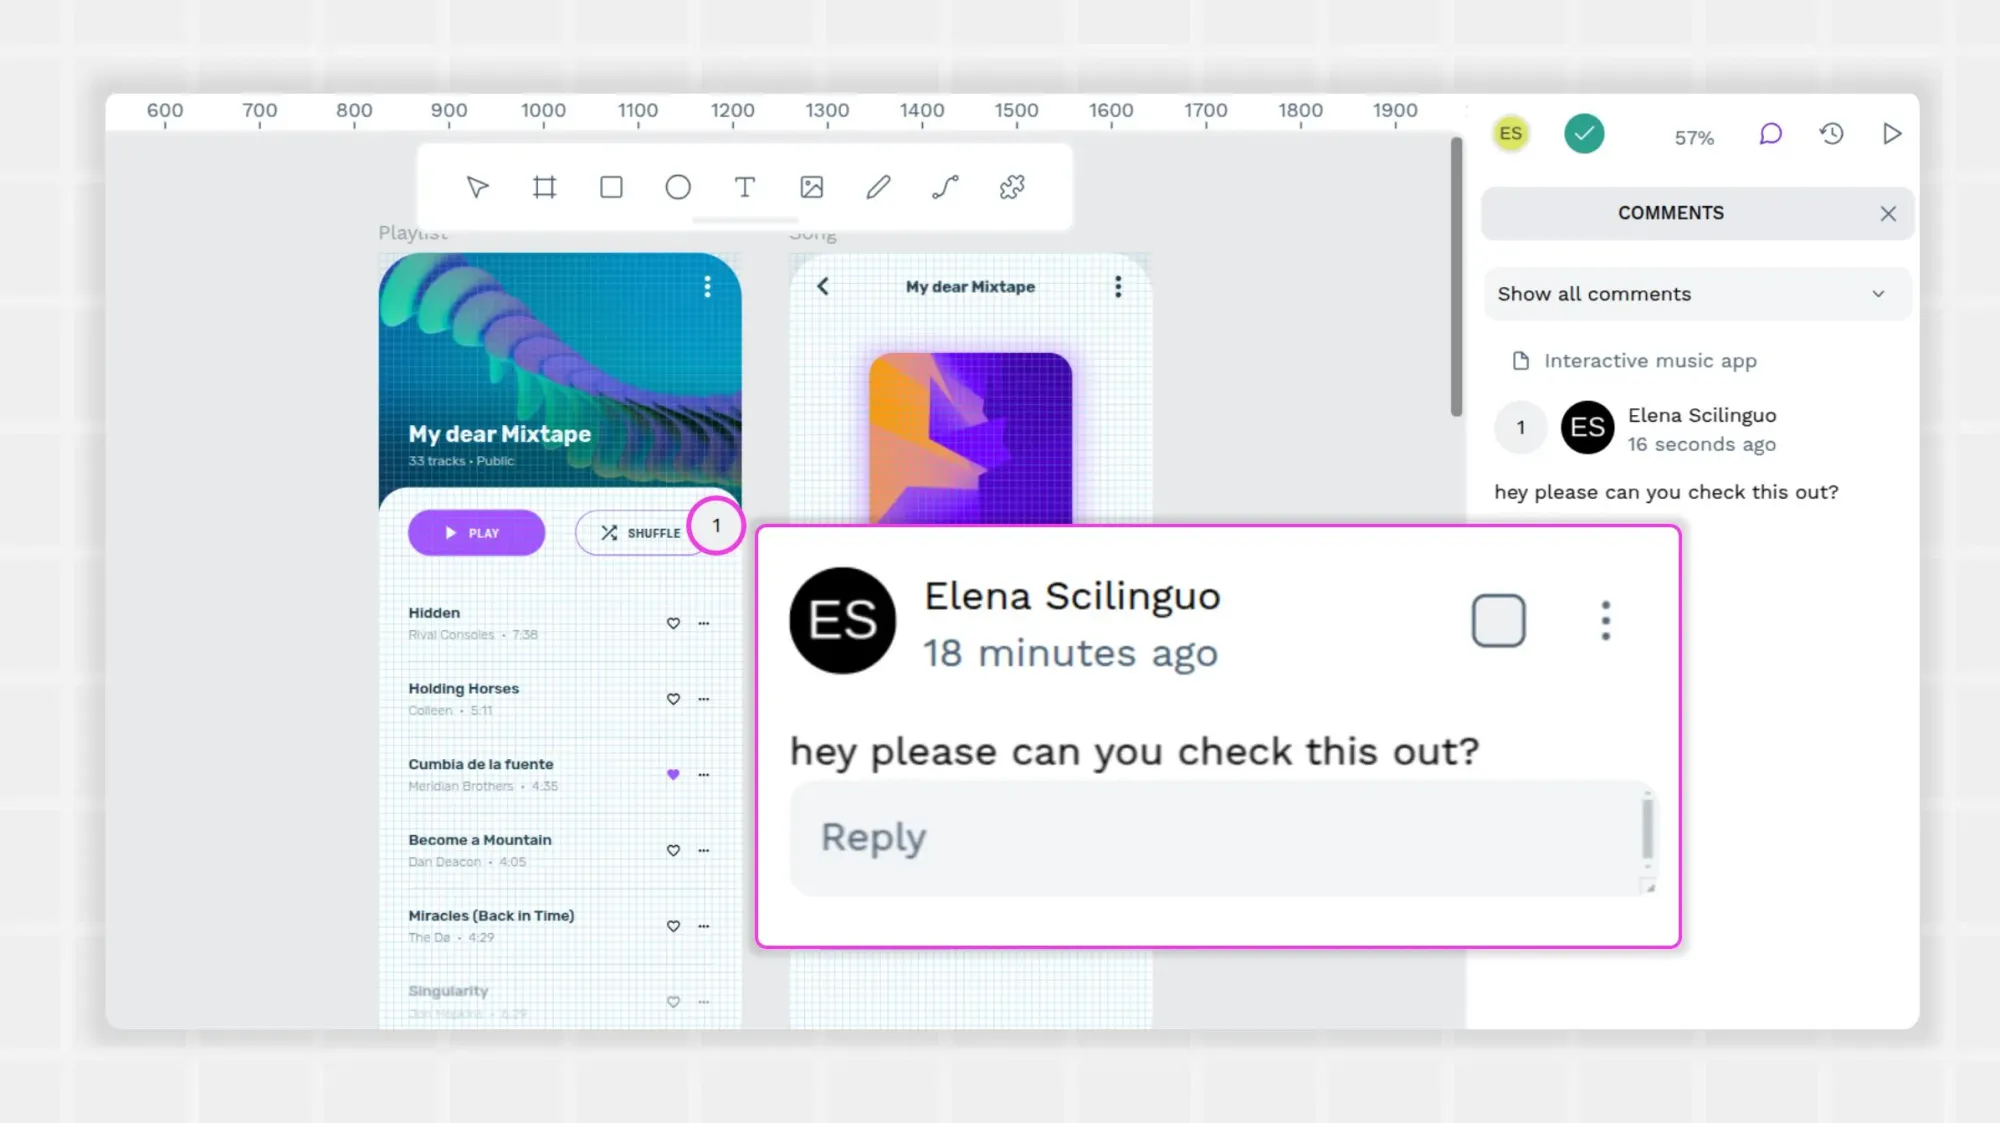
Penpot falls into the second category. It offers support for teams in the ideation stage through the coding stage. With room for comments and project history, designers and developers can collaborate in real time and share their feedback as designs happen. There is even a way to share with clients to get their thoughts on mockups and prototypes.
What problems arise when designers hand off to developers?
Traditional design-to-code processes were very manual and time-consuming. Projects would go from the design team to the development team in a ping-pong fashion. Waiting for one department to take a pass at a design and send it back resulted in time lost.
Other issues happened in the design department. After a design was created in the design tool, the specs had to be created for each layer so that it could be sent to the development teams. Each design change resulted in new documentation. It was anything but efficient.
Once the design was approved to be given to the engineers, the work had only just begun. What the designers wanted wasn't always clear as they weren't developers and had a different way of speaking about things. Documentation needed clarification or revisions, and the engineers had to go through all the documentation again and again to be sure they had it just right.
As you can imagine, this cumbersome way of working didn't invite teams to revise any more than they had to. Putting the user first often means additional iterations, more documentation, and hundreds of hours from engineers who just needed to get the coding done. As feedback came in from testers, the process started all over again, leading teams to appreciate the new way of working through collaborative design-to-code tools like Penpot.
How can you reduce errors when moving from design-to-code?
Whether you use an intuitive tool like Penpot or not, mistakes can happen. Some of the more common errors include syntax, logic, semantics, runtime, or compilation errors. These are common coding errors with any workflow, but using a tool for design-to-code collaboration can reduce the likelihood of these errors. Everyone gets access to the product and can spot issues as they arise – early on in the development process, if possible.
Best practices for error-less code include:
- Establishing code standards from day one and agreeing on the naming conventions that will be used across the board.
- Bringing design and dev professionals in early and having them involved in prototyping and mockups.
- Frequently reviewing code at each step of the development process.
- Communicating at each iteration and including documentation for each change (such as a change log or history)
- Testing each component individually before including it in a larger design.
- Completing integration testing early and debugging before sharing with clients or releasing to users.
While design-to-code tools can bring everyone together and encourage a better understanding of the project, mistakes still happen. Having human involvement in even the automated portions ensures bugs are caught early and have time to be resolved well before deployment.
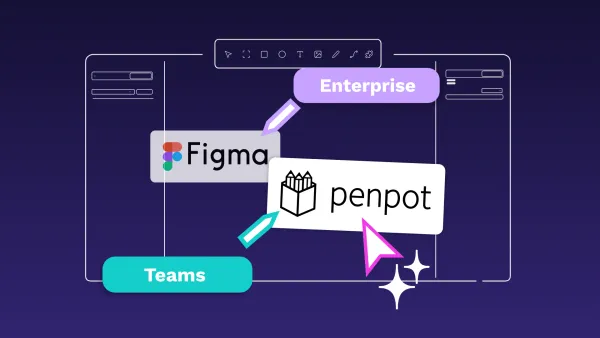
One added benefit of a design-to-code tool like Penpot is that more teams can be invited to collaborate and give feedback. Unlike Figma or other tools that charge per seat, with Penpot, you’re free to add as many collaborators as you like. Everyone can be a tester in this way, giving all members ownership and ensuring better results.
Build faster and smarter with Penpot
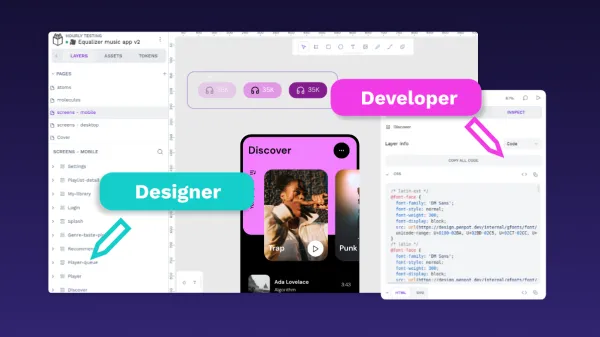
The design-to-code workflow has always been a tricky one. Designers and developers just work differently, and their core competencies aren’t in the same areas. That’s what makes them priceless partners in making beautiful projects, but it’s also why communication gaps can occur.
Penpot allows designers and developers to share the same language, bridging the knowledge gap between them by bringing designs closer to the world of code and making developers feel more comfortable with a design tool like Penpot.
All of this, makes your engineering handoffs seamless and effective by giving you the power of design-to-code right inside the app. The free and open-source design tool translates layers automatically. Just sign up and click on the Inspect tab to see CSS code snippets, HTML output, and SVG markup.
Related blog posts
Check out our other blogs, from informative topic guides to tutorials on how to get the most out of Penpot.
 Laura Kalbag
 Laura Kalbag
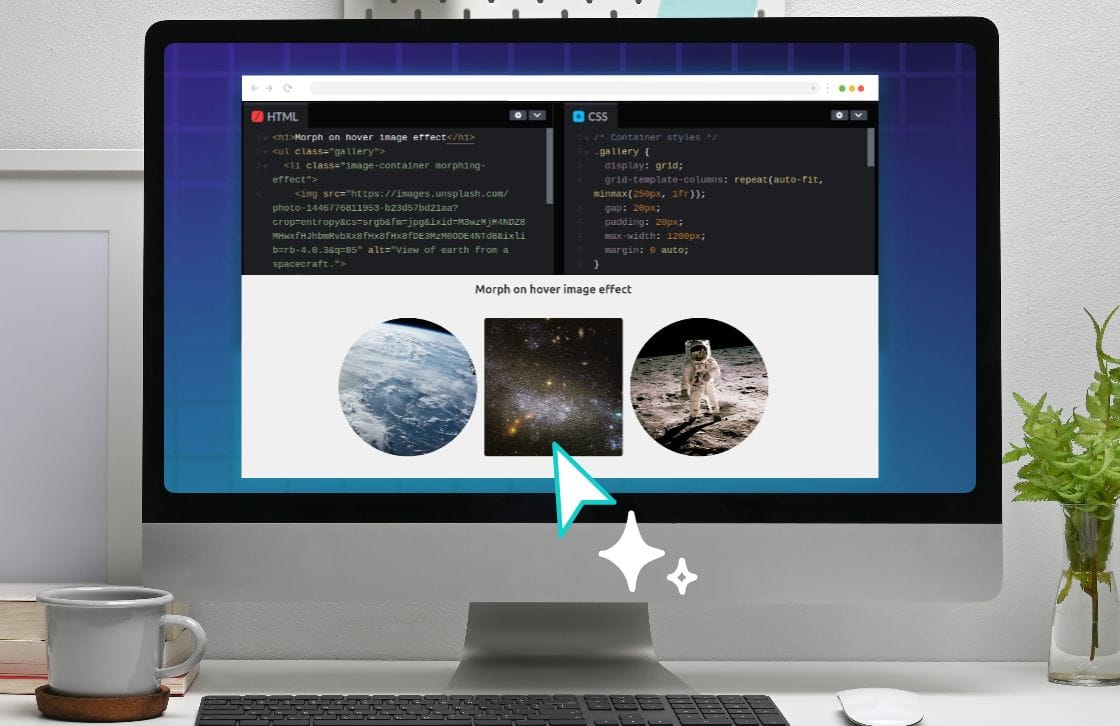 Paula Tienza